We’ll show you, how to install Sails.js on CentOS 7, with Apache configured as a reverse proxy. Sails.js is a Javascript framework designed to emulate the familiar MVC pattern of frameworks like Ruby on Rails, but with support for the requirements of modern apps:
data-driven APIs with a scalable, service-oriented architecture.
Sails.js is database agnostic, automatically generates a RESTful JSON API for your app, provides basic security and role-based access control by default, has automatic asset minification and many more.
It’s especially good for building chat, real time dashboards, or multiplayer games; but you can use it for any web application project – top to bottom.
REQUIREMENTS
We will be using our SSD 1 Linux VPS hosting plan for this tutorial.
Table of Contents
1. Log in to your server via SSH:
# ssh root@server_ip
Before starting, enter the command below to check whether you have the proper version of CentOS installed on your machine:
# cat /etc/redhat-release
which should give you the underneath output:
CentOS Linux release 7.2.1511 (Core)
2. Update the system
Make sure your server is fully up to date:
# yum update
3. Install the Node.js platform
Before installing Sails.js we need to install the Node.js platform. But first, install some much needed tools:
# yum install yum-utils bzip2 bzip2-devel wget curl tar

# yum groupinstall "Development Tools"
4. Download Node.js
Once the install is completed, navigate to your server /opt directory and download the latest (at the time of writing this tutorial) Node.js version with the below two commands:
# cd /opt

# wget http://nodejs.org/dist/v0.12.9/node-v0.12.9.tar.gz
Unpack the archive:
# tar -xzf node-v0.12.9.tar.gz
Enter the unpacked directory:
# cd node-v0.12.9
5. Configure Node.js
Next, configure Node.js sources by setting the –prefix flag to /usr/local, so that NodeJS will be installed in this location and will be usable to all users on the Linux VPS:
# ./configure --prefix=/usr/local
5. Compile and install Node.js
Once the configuration is completed, compile and install Node.js using the following commands:
# make

# make install
After the installation is finished, check the Node.js version with:
# node --version
Which should give you the following output:
# v0.12.9
6. Install Sails.js
Now you can install Sails.js. In your command line interface type:
# npm -g install sails
7. Create a new Sails project:
# cd && sails new yourprojectName
8. Start and configure Sailis
Start the server and make it work in the background using:
# cd yourprojectName && sails lift &
By default the server is listening on 127.0.0.1:1337
8. Configure Apache as a reverse proxy
Last but not least you need to configure Apache as a reverse proxy for your domain. With your favorite text editor open a new file. We are using vim:
# vim /etc/httpd/conf.d/your_domain.conf
Once the file is opened, paste the below lines:
<VirtualHost *:80>
ServerName your_domain.com
ServerAlias www.your_domain.com

ProxyRequests Off
<Proxy *>
Order deny,allow
Allow from all
</Proxy>

ProxyPass / http://your_domain.com:1337/
ProxyPassReverse / http://your_domain.com:1337/
<Location />
Order allow,deny
Allow from all
</Location>
</VirtualHost>
9. Restart Apache web server
Don’t forget to replace your_domain.com with your actual domain. Save and close the file. Restart Apache for the changes to take effect:
# service httpd restart
Congratulations, you have successfully installed Sails.js and configured Apache as a reverse proxy.
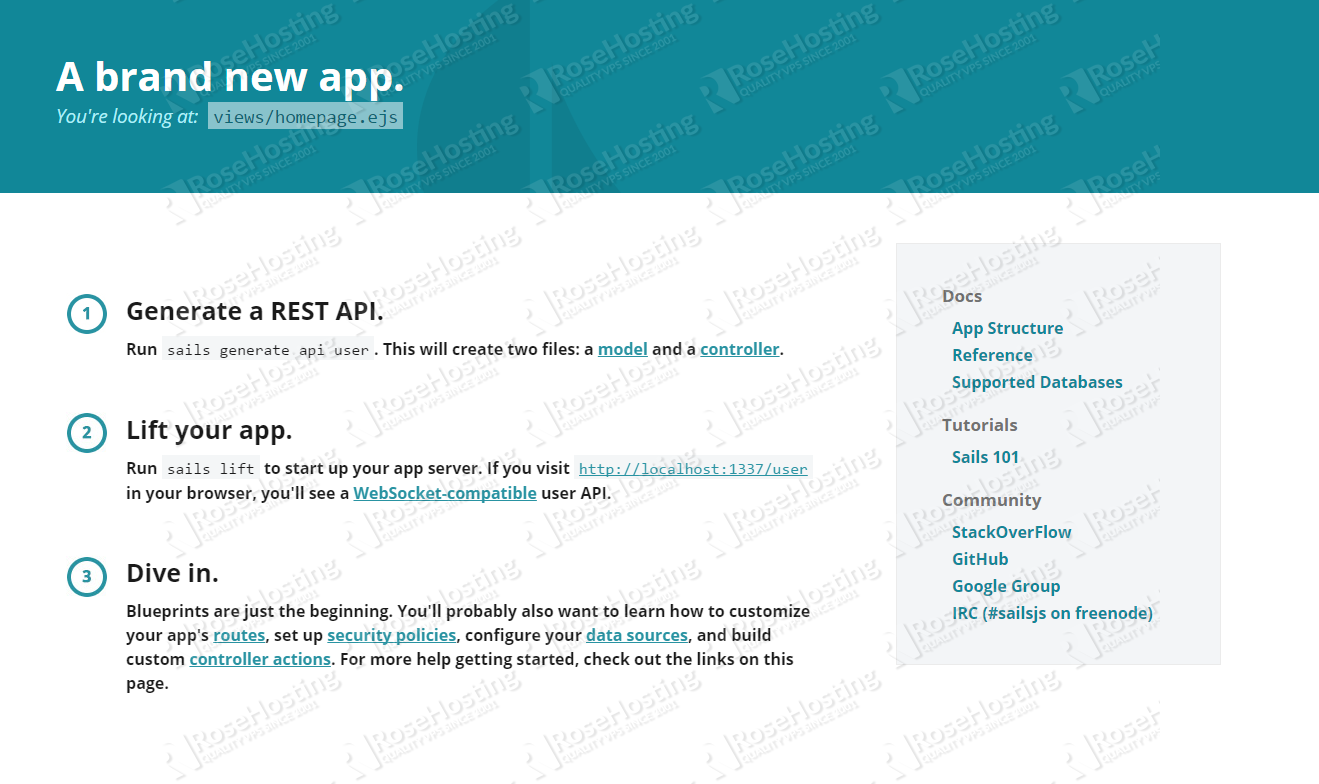
Your next step is to open your favorite web browser and navigate to http://your_domain.com where you will be welcomed by a page as shown in the picture below:
For more info about the Sails.js framework please go to their official documentation.
Of course you don’t have to Install Sails.js on CentOS 7, if you use one of our CentOS Optimized VPS Hosting services, in which case you can simply ask our expert Linux admins to install this for you. They are available 24×7 and will take care of your request immediately.
PS. If you liked this post, on how to Install Sails.js on CentOS 7, please share it with your friends on the social networks using the buttons on the left or simply leave a reply below. Thanks.


Thank you for providing the step-by-step information of install Sails.js on CentOS 7. It is very useful and helps developers to install on their system. My appreciation to you. Keep posting.