In this blog post, we are going to install the Sails.js Framework on AlmaLinux OS.
Sails.js is a Javascript framework, used for building an application in real-time without writing too much code. It is an MVC(Model-View-Controller) framework based and is developed under the Node.js environment. Sails.js offers a number of features built on Express.js and Node.js enabling the applications to be fully based on javascript. It is good to be mentioned that Sails.js provides an object-relational mapping interface using Waterlin.js. In this blog post, we are going to configure Sails.js with Apache as a reverse proxy so you can access your app via a domain name instead of using an IP address and port.
Installing Sails.js on AlmaLinux with Apache as a reverse proxy will take up to 15 minutes. Let’s get things to work!
Table of Contents
Prerequisites
-
- A server with AlmaLinux as OS
- User privileges: root or non-root user with sudo privileges
</ul
Step 1. Update the System
Before we start with the installation process and configuration, we need to update the system and packages to the latest versions available:
sudo dnf update -y && sudo dnf upgrade -y
Step 2. Install Dependencies
Install the required dependencies, before you proceed with the installation.
dnf groupinstall "Development Tools"
dnf install bzip2 bzip2-devel wget curl tar
Step 3. Install NodeJS
We need Nodejs to be installed in order can install Sails.js. Check the Nodejs available modules for AlmaLinux:
dnf module list nodejs
You should receive the following output:
[root@vps ~]# dnf module list nodejs
AlmaLinux 8 - AppStream
Name                            Stream                          Profiles                                                      Summary
nodejs                          10 [d]                          common [d], development, minimal, s2i                         Javascript runtime
nodejs                          12                              common [d], development, minimal, s2i                         Javascript runtime
nodejs                          14                              common [d], development, minimal, s2i                         Javascript runtime
nodejs                          16                              common [d], development, minimal, s2i                         Javascript runtime

Hint: [d]efault, [e]nabled, [x]disabled, [i]nstalled
We are going to install the latest nodejs 16 version.
dnf module install nodejs:16
To check if nodejs is installed successfully execute the following command:
node -v
You should receive the following output:
[root@vps ~]# node -v && npm -v
v16.13.1
8.1.2
Step 4. Install Sails.js
To install Sails.js we are going to execute the npm command as shown below:
cd /opt

sails new ProjectName
.
Choose an empty template by typing 2 in the first step:
 Choose a template for your new Sails app:
 1. Web App  ·  Extensible project with auth, login, & password recovery
 2. Empty    ·  An empty Sails app, yours to configure
 (type "?" for help, or <CTRL+C> to cancel)
? 2
Once installed, you should receive the following output:
 info: Installing dependencies...
Press CTRL+C to cancel.
(to skip this step in the future, use --fast)
 info: Created a new Sails app `project-name`!
Enter into the directory named as the project name and start the Sails.js application:
cd /opt/ProjectName

sails lift
You should receive the following output once, the application is started on port 1337
 info: Starting app...

 info:
 info:                .-..-.
 info:
 info:    Sails              <|    .-..-.
 info:    v1.5.2              |\
 info:                       /|.\
 info:                      / || \
 info:                    ,'  |'  \
 info:                 .-'.-==|/_--'
 info:                 `--'-------'
 info:    __---___--___---___--___---___--___
 info:  ____---___--___---___--___---___--___-__
 info:
 info: Server lifted in `/opt/ProjectName`
 info: To shut down Sails, press  + C at any time.
 info: Read more at https://sailsjs.com/support.

debug: -------------------------------------------------------
debug: :: Thu Apr 14 2022 13:32:01 GMT-0500 (Central Daylight Time)

debug: Environment : development
debug: Port        : 1337
debug: -------------------------------------------------------
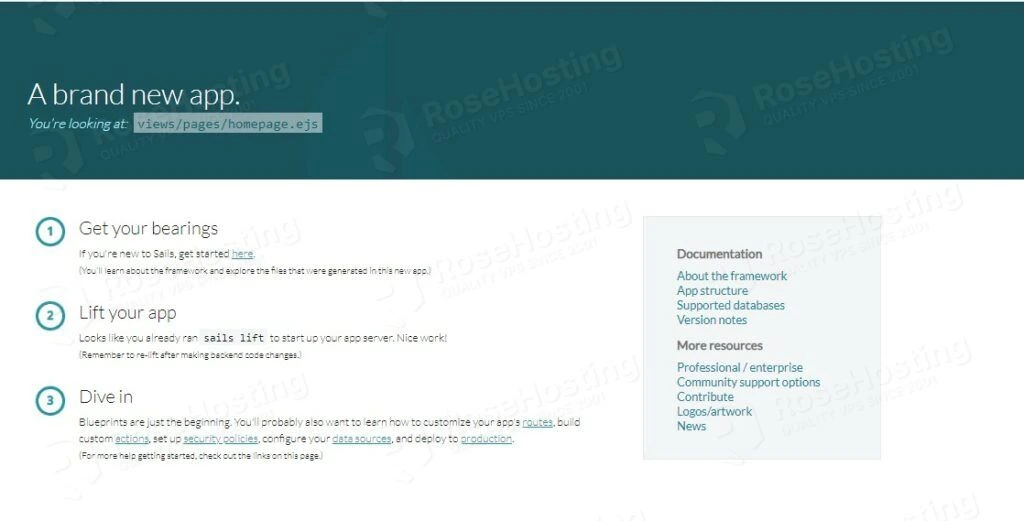
This way, the application is running in the background and you can access it at http://YourIPAddress:1337
Step 5. Create a Sails.js service
In order we can easily start, stop and restart the application with only one command, we will create a service file.
Create a file into the system directory:
touch /lib/systemd/system/sails.service
Open the file with your favorite editor and paste the following lines of code:
[Unit]
After=network.target

[Service]
Type=simple
User=root
WorkingDirectory=/opt/ProjectName
ExecStart=/usr/local/bin/sails lift
Restart=on-failure

[Install]
WantedBy=multi-user.target
Save, the file close it and reload the daemon.
sudo systemctl daemon-reload
Start and enable the service for automatic start on system reboot:
sudo systemctl start sails && sudo systemctl enable sails
Step 6. Create Apache Virtual Host and Reverse Proxy
In this step, we are going to create Apache virtual host and set up a reverse proxy for the Sails.js app to be accessible via a domain name instead of an IP address and port.
Create a sails configuration file.
touch /etc/httpd/conf.d/sails.conf
Open the configuration file and paste the following lines of code:
 <VirtualHost *:80>
	ServerName YourDomain.com

	ProxyRequests Off
	<Proxy *>
	Order deny,allow
	Allow from all
	</Proxy>

	ProxyPass / http://YourDomain.com:1337/
	ProxyPassReverse / http://YourDomain.com:1337/
	<Location />
	Order allow,deny
	Allow from all
	</Location>
</VirtualHost>
Save the file, close it and check the Apache syntax:
httpd -t
You should receive the following output:
[root@vps ~]# httpd -t
Syntax OK
Restart the Apache service
sudo systemctl restart httpd
Access the Sails.js application via your domain at http://YourDomainName
Congratulations! You successfully installed and configured the reverse proxy of the Sails.js application to start with the service.
Of course, you do not need to install and configure it by yourself since our professional administrator can do it for you in no time. You just need to order our managed NVMe VPS hosting plans and submit a support ticket. We are available 24/7 and will start work on your request immediately.
If you liked this post on how to install Sails.js on AlmaLinux, please share it with your friends on social networks or simply leave a reply below. Thanks.


Much gratitude to you for making such an informational post. Clearly you’ve contributed some package of energy. Conferring this to my allies for their benefit!