In this tutorial, we will show you how to install Mezzanine CMS on Ubuntu 18.04. Mezzanine CMS is a free and open-source content management system, built using the popular Django framework. It provides an intuitive interface for managing pages, blog posts, form data, store products, along with many other types of content. Unlike other popular CMS applications, all of these functionalities are available by default, without the need to use any additional modules or add-ons.
Here are some of the most popular features:
- Hierarchical page navigation
- Drag-and-drop page ordering
- Scheduled publishing
- WYSIWYG editing
- In-line page editing
- Drag-and-drop HTML5 forms builder with CSV export
- E-commerce / Shopping cart module
- Blog engine
- Tagging
- Translated to over 35 languages
- Multi-lingual sites
- One step migration from other blogging engines
and many more…
Table of Contents
Requirements:
- For the purposes of this tutorial, we will be using an Ubuntu 18.04 VPS.
- Full SSH root access or a user with sudo privileges is also required.
Step 1: Connect to Your Server
Before we begin, you will need to connect to your server via SSH as the root user or as any other user with sudo privileges.
To connect to your server as the root user, use the following command:
ssh root@IP_ADDRESS -p PORT_NUMBER
Make sure to replace IP_ADDRESS and PORT_NUMBER with your actual server IP address and SSH port number.
Once you are logged in, make sure that your server is up-to-date by running the following commands:
sudo apt update
sudo apt upgrade
Once that is done, we can then proceed with the installation.
Step 2: Install Python 3 and pip
The easiest way to install Mezzanine is with Python pip. Pip is a package management system which is used to install and manage packages written in Python.
In order to use pip, we first need to install Python 3 and pip3 on our server. To do this, run the following command:
sudo apt install python3 python3-pip python3-dev
To verify if Python 3 has been successfully installed, you can run the following command:
python3 -V
Output:
Python 3.6.7
And to verify if pip3 is installed, you can execute this:
pip3 -V
Output:
pip 9.0.1 from /usr/lib/python3/dist-packages (python 3.6)
2. Install MySQL and Create the Mezzanine database
Mezzanine CMS can work with MySQL, MariaDB, PostgreSQL, Oracle, and SQLite-based databases. In this tutorial, we will be using a MySQL database.
First, install the MySQL database server with the following command:
sudo apt install mysql-server
The MySQL web server will be started automatically as soon as the installation is completed.
You can check if the service is running with the following command:
sudo systemctl status mysql
To enable the MySQL service to automatically start up upon server reboot, run the following command:
sudo systemctl enable mysql
To further improve the security of our MySQL installation as well as set up a password for our MySQL root user, we need to run the mysql_secure_installation script and follow the on-screen instructions. Run the command below to configure your system:
sudo mysql_secure_installation
You can now log in to your MySQL database server as the root user with this command:
sudo mysql -u root -p
To create a new database and user, run the following commands on the MySQL shell:
CREATE DATABASE mezzanine CHARACTER SET UTF8;
CREATE USER mezzanine@localhost IDENTIFIED BY 'strong-password';
GRANT ALL PRIVILEGES ON mezzanine.* TO mezzanine@localhost;
FLUSH PRIVILEGES;
To exit the MySQL database server command line, type:
exit
Step 3: Install Python Virtual Environment for Mezzanine
The Python Virtual Environment is a tool that you can use to create isolated Python environments. It creates an environment that has its own installation directories, and it doesn’t share libraries with any other virtual environments that are running on our server.
To install the Python Virtual Environment, run the following command:
sudo pip3 install virtualenv
Step 4: Create a Mezzanine User
Before we proceed, let’s create a new user for our Mezzanine installation:
adduser mezzanine
Now, let’s add this new user to the sudo group:
usermod -aG sudo mezzanine
Once added, we can log in as the mezzanine user with:
su - mezzanine
Step 5: Create a New Virtual Environment
To create the virtual environment for Mezzanine, run the following command:
virtualenv mezzanine
Output:
Using base prefix '/usr'
New python executable in /home/mezzanine/mezzanine/bin/python3
Also creating executable in /home/mezzanine/mezzanine/bin/python
Installing setuptools, pip, wheel...
done.
To activate the virtual environment run the following:
source mezzanine/bin/activate
Now you are in the Python virtual environment – you are now ready to begin the installation.
Step 6: Install the Mezzanine CMS
To install the Mezzanine CMS onto our new virtual environment, run the following command:
pip install mezzanine
NOTE: Pay attention to the command – even if we are using Python 3, when inside the Python virtual environment, you can use the ‘pip’ command instead of ‘pip3’ and ‘python’ instead of ‘python3’.
Step 7: Create a New Mezzanine Project
To create a new Mezzanine project, run the following command:
mezzanine-project mezzanine_project
This will add a new directory for our project called mezzanine_project. You can name this according to your needs, but remember to use that name throughout the rest of the tutorial.
To enter this directory, run:
cd mezzanine_project
Step 8: Configure the Mezzanine application
We need to define which database server our application is going to use and how to connect to our database – we need to edit the settings.py file within our main project directory:
nano mezzanine_project/settings.py
Now look for the DATABASES block and add the following information about the database we have created in Step 2.
DATABASES = {
    "default": {
        "ENGINE": "django.db.backends.mysql",
        "NAME": "mezzanine",
        "USER": "mezzanine",
        "PASSWORD": "strong-password",
        "HOST": "localhost",
        "PORT": "",
    }
}
Save the changes to the file, and exit the nano text editor.
You will also find the main script for managing projects in this directory, which is called manage.py.
We will use this script to migrate the database and create a new superuser account for our Mezzanine admin interface.
Let’s migrate the database by running the following commands:
python manage.py makemigrations
python manage.py migrate
Output:
Operations to perform:
Apply all migrations: admin, auth, blog, conf, contenttypes, core, django_comments, forms, galleries, generic, pages, redirects, sessions, sites, twitter
Running migrations:
Applying contenttypes.0001_initial... OK
Applying auth.0001_initial... OK
Applying admin.0001_initial... OK
Applying admin.0002_logentry_remove_auto_add... OK
Applying contenttypes.0002_remove_content_type_name... OK
Applying auth.0002_alter_permission_name_max_length... OK
.
.
.
Applying redirects.0001_initial... OK
Applying sessions.0001_initial... OK
Applying sites.0002_alter_domain_unique... OK
Applying twitter.0001_initial... OK
Once the database is migrated, we can create a new administrative user with this line:
python manage.py createsuperuser
Enter the required information in order to create the new admin user:
Username (leave blank to use 'mezzanine'): admin
Email address: admin@mydomain.com
Password:
Password (again):
Superuser created successfully.
Next, open the following file to edit it:
nano mezzanine_project/local_settings.py
Find the ALLOWED_HOSTS line and then add the IP address of your server and/or your domain name.
ALLOWED_HOSTS = ["localhost", "127.0.0.1", "::1", "your-server-IP", "your-domain-name"]
Save the file and exit the nano text editor.
Step 9: Start the Mezzanine server
To start up and run the Mezzanine server, run the following command:
python manage.py runserver 0.0.0.0:8000
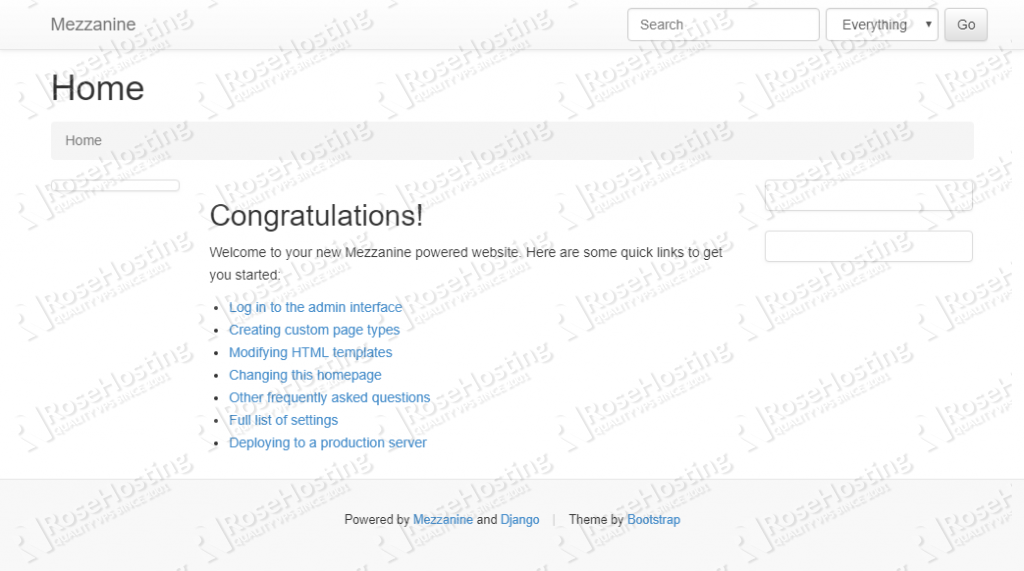
You will now be able to access the application in your favorite browser at http://your_server_ip:8000/
You will be taken to the default Mezzanine landing page:
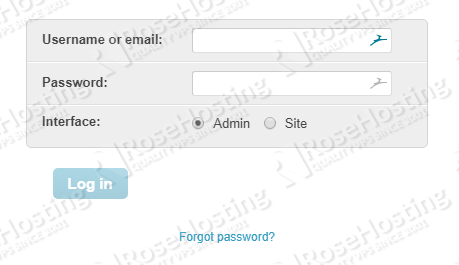
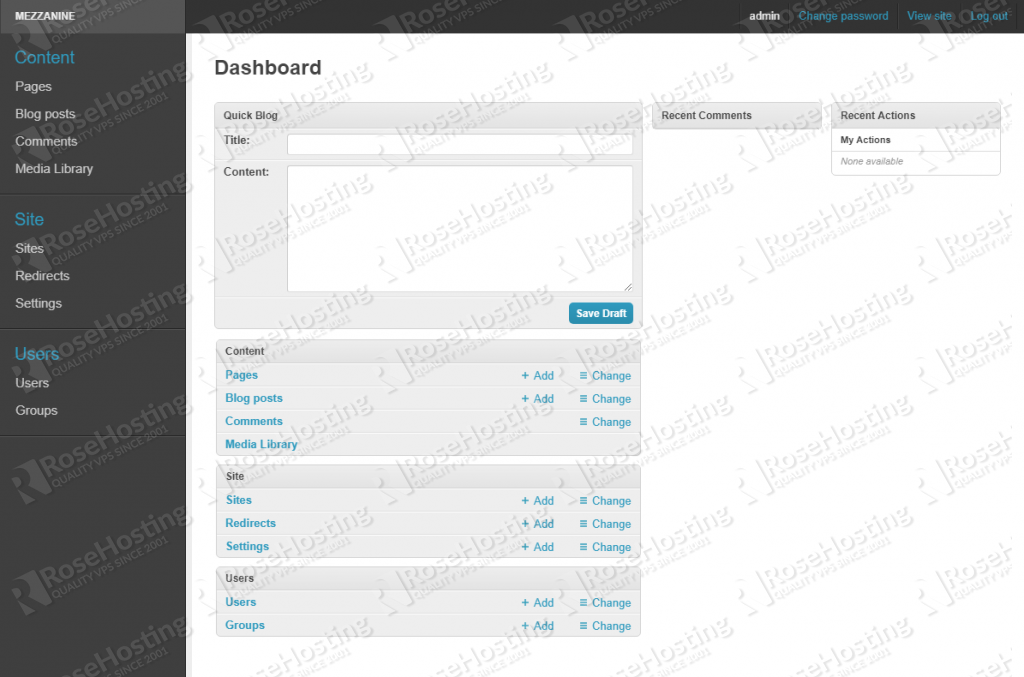
You can then access the Mezzanine admin page and log in with your admin user at the following URL: http://your_server_ip:8000/admin
That’s it – you have successfully installed Mezzanine on your Ubuntu 18.04 VPS.
Of course, if you are one of our Ubuntu Hosting customers, you don’t have to install Mezzanine CMS on your Ubuntu 18.04 VPS – simply ask our admins, sit back, and relax. Our admins will install Mezzanine CMS on Ubuntu 18.04 for you immediately.
PS. If you liked this post about how to install Mezzanine CMS on Ubuntu 18.04 VPS, please share it with your friends on the social networks using the buttons below, or simply leave a comment in the comments section. Thanks.


when i run “ssh root@IP_ADDRESS -p PORT_NUMBER” with port 8000 its give me “ssh: connect to host 192.168.1.10 port 8000: Connection refused ” ,and without port its also give me “ssh: connect to host 192.168.1.10 port 22: Connection refused”
how can i solve that ?
thank you
First, you should check on which port your SSH server is listening. Then you should check if the firewall is filtering the attempts to connect to SSH server.