ownCloud is free and open-source software written in PHP that’s used for data synchronization and file sharing. ownCloud is very similar to DropBox and other cloud storage services such OneDrive, iCloud, and Google Drive.
The main difference is that this is self-hosted, which means that your data really only belongs to you. This of course is preferable if you want your data to be more secure.
In this tutorial, we will show you how to install ownCloud on Ubuntu 22.04 VPS.
Table of Contents
Prerequisites
- An Ubuntu 22.04 VPS
- SSH access with root privileges or a regular system user with sudo privileges
Step 1: Log in via SSH and update the system
Log in to your Ubuntu 22.04 server with SSH as a root user:
ssh root@IP_Address -p Port_number
You will need to replace ‘IP_Address‘ and ‘Port_number‘ with your server’s respective IP address and SSH port number.
Once you are logged in, run the following command to update all installed packages to the latest available version:
apt update && apt upgrade
Step 2: Install Nginx Web Server
In this tutorial, we will install and use the Nginx web server. You can install it using the following command:
apt install nginx
Once the Nginx web server is installed, start and enable the Nginx service using the following command:
systemctl start nginx
systemctl enable nginx
You can check the status of the Nginx service:
systemctl status nginx
Step 3: Install PHP and required PHP extensions
By default, Ubuntu 22.04 ships with PHP 8.1, and at the time of writing, the latest version of ownCloud doesn’t support PHP 8.x.
This means that you need to install PHP 7.4 and the required PHP extensions on the server.
To install PHP 7.4 on Ubuntu 22.04, you need to install SURY, a third-party repository that provides PHP packages.
add-apt-repository ppa:ondrej/php --yes &> /dev/null
Update the repository with the following command:
apt update
You can install all of them with the following command:
apt install php7.4 php7.4-xml php7.4-cli php7.4-cgi php7.4-fpm php7.4-mysql php7.4-mbstring php7.4-gd php7.4-curl php7.4-zip php7.4-imagick php7.4-json php7.4-intl
Once all the packages are installed, verify the PHP version using the following command:
php7.4 -v
You should see the following output:
PHP 7.4.29 (cli) (built: Apr 28 2022 11:47:05) ( NTS )
Copyright (c) The PHP Group
Zend Engine v3.4.0, Copyright (c) Zend Technologies
with Zend OPcache v7.4.29, Copyright (c), by Zend Technologies
Step 4: Install MariaDB Database Server
Run the following command to install the MariaDB server from the official Ubuntu 22.04 repositories:
apt install mariadb-server mariadb-client
Once installed, MariaDB will run, and it’s already configured to run after a reboot by default.
Next, secure the MariaDB installation using the following command:
mysql_secure_installation
This is optional but strongly recommended.
This script will set the MariaDB root password, disable remote root login and remove anonymous users as shown below:
Enter current password for root (enter for none):
Set root password? [Y/n] Y
New password:
Re-enter new password:
Remove anonymous users? [Y/n] Y
Disallow root login remotely? [Y/n] Y
Remove test database and access to it? [Y/n] Y
Reload privilege tables now? [Y/n] Y
Step 5: Create a Database for OwnCloud
Log in to the MySQL server as user root:
mysql -u root -p
You will be prompted for your MySQL root password (you have created it in the previous step) and execute the following commands:
MariaDB [(none)]> CREATE DATABASE owncloud;
MariaDB [(none)]> GRANT ALL PRIVILEGES ON owncloud.* TO 'owncloud'@'localhost' IDENTIFIED BY 'Pa$$word';
MariaDB [(none)]> FLUSH PRIVILEGES;
MariaDB [(none)]> EXIT;
Don’t forget to replace ‘Pa$$word’ with an actual strong password.
Step 6: Download ownCloud
Download the latest version of ownCloud from the official website by executing the following command on your server:
wget https://download.owncloud.com/server/stable/owncloud-complete-latest.zip
Once downloaded, unzip the downloaded file with the following command:
unzip owncloud-complete-latest.zip -d /var/www/html/
Then run the following command to change the ownership of the ownCloud to www-data:
chown -R www-data:www-data /var/www/html/owncloud/
Step 7: Configure Nginx for ownCloud
Create an Nginx server block for the domain name you will use for accessing the ownCloud. For example, we will use the owncloud.your_domain.com subdomain:
nano /etc/nginx/conf.d/owncloud.your_domain.conf
Add the following content:
server {
    server_name owncloud.your_domain.com;
    root /var/www/html/owncloud;

    access_log /var/log/nginx/owncloud.your_domain-access.log;
    error_log /var/log/nginx/owncloud.your_domain-error.log;

    location / {
        index index.php;
        try_files $uri $uri/ /index.php$is_args$args;
    }

    location ~ \.php$ {
        include snippets/fastcgi-php.conf;
        fastcgi_pass unix:/run/php/php7.4-fpm.sock;
        fastcgi_param SCRIPT_FILENAME $document_root$fastcgi_script_name;
    }
}
Save and close the file. Finally, reload Nginx for the changes to take effect.
systemctl restart nginx
Step 8: Install a free Let’s Encrypt SSL certificate
You should enable a secure HTTPS connection on your ownCloud. Install Let’s Encrypt client (certbot) from Ubuntu 22.04 repository:
apt install certbot python3-certbot-nginx
Next, run the following command to install a free SSL certificate using the Nginx plugin:
certbot --nginx -d owncloud.your_domain.com
Note: Replace ‘owncloud.your_domain.com’ with the actual domain name you want to use to access the ownCloud installation.
Step 9: Finish the ownCloud installation
In the last step of this tutorial, you need to access to ownCloud Web Interface and finish the installation:
https://owncloud.your_domain.com
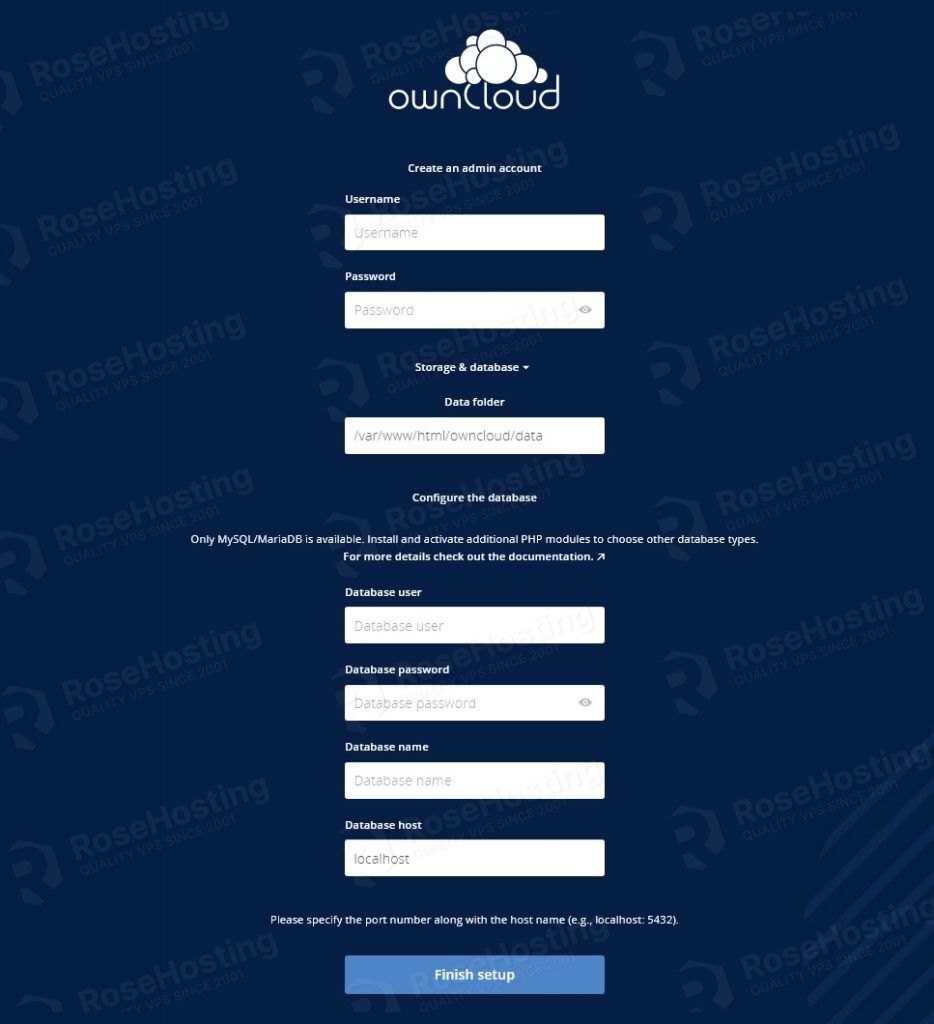
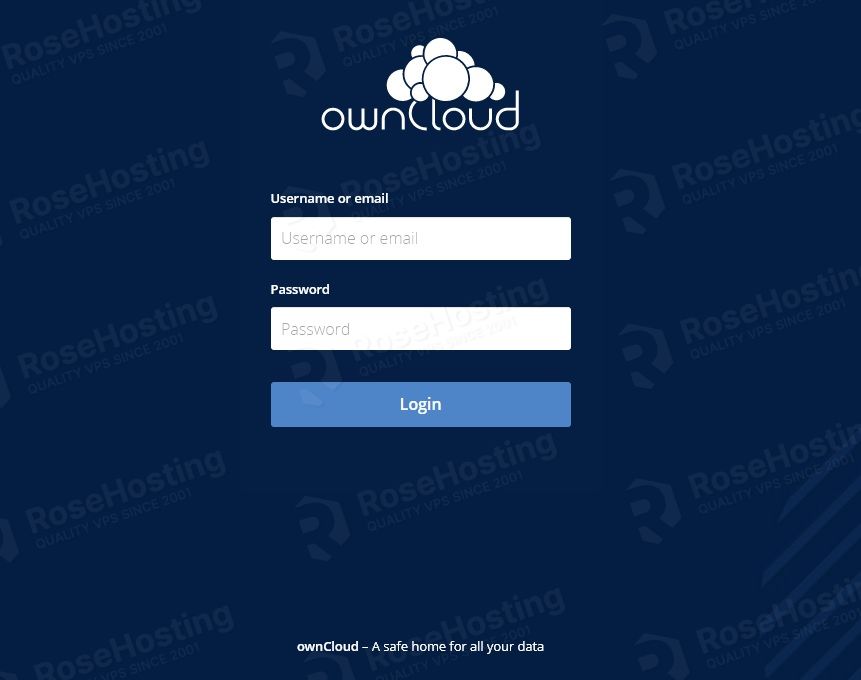
Set your ownCloud admin username, password, data folder, database name, database username, and password, and click on the Finish setup button. You should see the ownCloud login page:
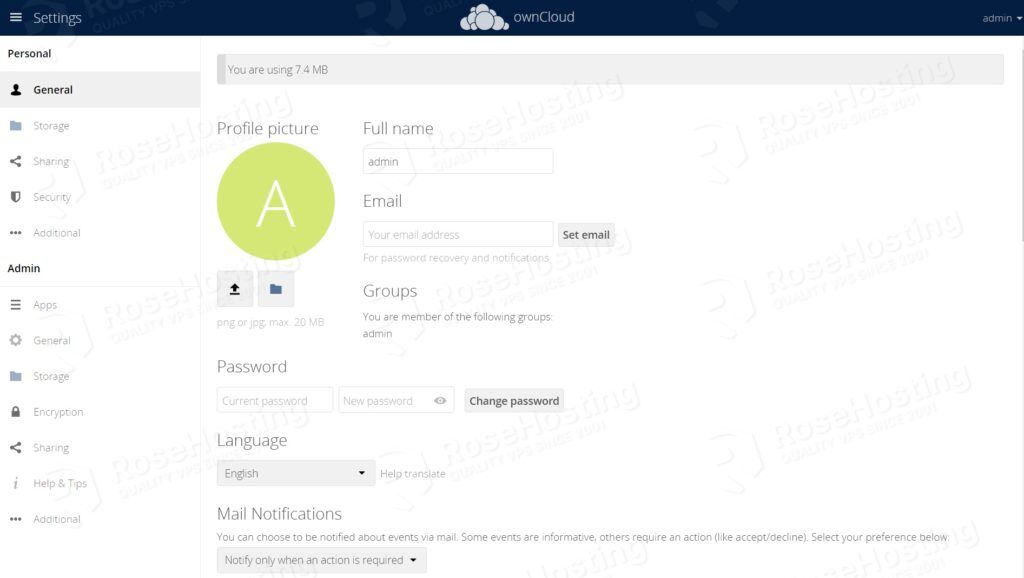
Provide your admin username and password and click on the Login button. You should see the ownCloud dashboard on the following screen:
Congratulations! you have successfully installed your ownCloud on Ubuntu 22.04 VPS. For more information, visit the ownCloud official documentation.
Of course, you don’t need to install ownCloud on Ubuntu 22.04 if you use one of our ownCloud Hosting services, in which case you can simply ask our expert Linux admins to install and set this up for you. They are available 24×7 and will take care of your request immediately.
PS. If you liked this post on How To Install ownCloud on Ubuntu 22.04, please share it with your friends on social networks or simply leave a reply below. Thanks.


Hi,
I have just installed maria-db like described in your tutorial. But when i run the mysql:secure_installation script, he asks me for the password of the root user. He does not accept a blank password, I always get an access denied error. Can you tell me please, where my mistake is?
I installed maria-db on ubuntu 22.04.
Thanks for your help
Kind regards.