Redmine is an open-source and one of the most popular project management and issue tracking systems written in the Ruby on Rails framework. It is a cross-platform and cross-database tool that allows you to manage multiple projects and sub-projects. It offers robust monitoring tools and has integrated support for news, document management, calendars, forum and file management.
Redmine can be integrated with various version control systems and offers a repository browser.
In this tutorial, we will show you how to install Redmine on an Ubuntu 20.04 VPS.
Table of Contents
Prerequisites
- A Ubuntu 20.04 VPS with root access enabled or a user with sudo privileges.
- Minimum 2GB of RAM.
Step 1: Log in via SSH and Update your System
First, you will need to log in to your Ubuntu 20.04 VPS via SSH as the root user:
ssh root@IP_ADDRESS -p PORT_NUMBER
Replace “root” with a user that has sudo privileges if necessary. Additionally, replace “IP_Address” and “Port_Number” with your server’s respective IP address and SSH port number.
Next, run the following commands to upgrade all installed packages on your VPS:
apt-get update -y

apt-get upgrade -y
Step 2: Install Apache Webserver
Redmine runs on the webserver and is written in the Ruby on Rails framework. So you will need to install them on your server.
You can run the following command to install the Apache and Passenger module:
apt-get install apache2 libapache2-mod-passenger -y
Once both packages are installed, you can proceed to install the MariaDB server.
Step 3: Install MariaDB Server
Redmine uses MariaDB/MySQL as a database. So you need to install the MariaDB server in your system.
Run the following command to install the MariaDB server from the official Ubuntu repositories:
apt-get install mariadb-server mariadb-client -y
Once installed, enable the MariaDB service to automatically start-up upon server reboot with the following command:
systemctl enable mariadb
Next, secure the MariaDB installation using the following command:
mysql_secure_installation
This script will set the MariaDB root password, disable remote root login and remove anonymous users as shown below:
Enter current password for root (enter for none):

Set root password? [Y/n] Y

New password:

Re-enter new password:

Remove anonymous users? [Y/n] Y

Disallow root login remotely? [Y/n] Y

Remove test database and access to it? [Y/n] Y

Reload privilege tables now? [Y/n] Y
Step 4: Create a Database for Redmine
Next, you will need to create a database and user for Redmine.
First, Log in to your MariaDB console with the following command:
mysql -u root -p
Provide your MariaDB root password when prompt then create a database and user for Redmine using the following command:
MariaDB [(none)]> CREATE DATABASE redminedb CHARACTER SET utf8mb4;

MariaDB [(none)]> GRANT ALL PRIVILEGES ON redminedb.* TO 'redmine'@'localhost' IDENTIFIED BY 'secure-password';
Next, flush the privileges and exit from the MariaDB console with the following command:
MariaDB [(none)]> FLUSH PRIVILEGES;

MariaDB [(none)]> EXIT;
Step 5: Install and Configure Redmine
By default, Redmine is included in the Ubuntu default repository. You can install it with the following command:
apt-get install redmine redmine-mysql
You will be asked to configure the Redmine database as shown below:

Select Yes and hit Enter. You will be asked to provide a password for the database as shown below:

Provide your desired password and hit Enter to finish the installation.
Next, you will need to install Bundler in your system. Bundler provides an environment for Ruby projects by tracking and installing the exact gems and versions that are needed.
You can install it with the following command:
gem install bundler
Once installed, edit the Passenger configuration file located at /etc/apache2/mods-available/passenger.conf:
nano /etc/apache2/mods-available/passenger.conf
Change the file as shown below:
<IfModule mod_passenger.c>

PassengerDefaultUser www-data

PassengerRoot /usr/lib/ruby/vendor_ruby/phusion_passenger/locations.ini

PassengerDefaultRuby /usr/bin/ruby

</IfModule>
Save and close the file. Then, create the Redmine symbolic link to the Apache web root directory:
ln -s /usr/share/redmine/public /var/www/html/redmine
Next, create a Gemfile.lock file and set the ownership to the www-data user:
touch /usr/share/redmine/Gemfile.lock

chown www-data:www-data /usr/share/redmine/Gemfile.lock

chown -R www-data:www-data /var/www/html/redmine
Step 6: Configure Apache for Redmine
Next, you will need to create an Apache virtual host configuration file for Redmine. You can create it with the following command:
nano /etc/apache2/sites-available/redmine.conf
Add the following content:
 <VirtualHost *:80>
 ServerAdmin admin@example.com
 DocumentRoot /var/www/html/redmine
 ServerName redmine.example.com
 <Directory /var/www/html/redmine>
 RailsBaseURI /redmine
 PassengerResolveSymlinksInDocumentRoot on
 </Directory>
ErrorLog ${APACHE_LOG_DIR}/error.log
CustomLog ${APACHE_LOG_DIR}/access.log combined
</VirtualHost>
Save and close the file. Then, enable the Apache virtual host file and restart the Apache service to implement the changes:
a2ensite redmine.conf

systemctl restart apache2
Step 7: Secure Redmine with Let’s Encrypt SSL
It is a good idea to secure your Redmine with Let’s Encrypt SSL. First, you will need to install the Certbot Let’s Encrypt Client in your system.
Run the following command to install the Certbot client:
apt-get install certbot python3-certbot-apache -y
Once installed, run the following command to download and install the Let’s Encrypt SSL for your domain.
certbot --apache -d redmine.example.com
You will be asked to provide your valid email and accept the term of service as shown below:
Saving debug log to /var/log/letsencrypt/letsencrypt.log

Plugins selected: Authenticator apache, Installer apache

Enter email address (used for urgent renewal and security notices) (Enter 'c' to

cancel): admins@example.com
– – – – – – – – – – – – – – – – – – – – – – – – – – – – – – – – – – – – – – – –
Please read the Terms of Service at
https://letsencrypt.org/documents/LE-SA-v1.2-November-15-2017.pdf. You must
agree in order to register with the ACME server at
https://acme-v02.api.letsencrypt.org/directory
– – – – – – – – – – – – – – – – – – – – – – – – – – – – – – – – – – – – – – – –
(A)gree/(C)ancel: A
– – – – – – – – – – – – – – – – – – – – – – – – – – – – – – – – – – – – – – – –
Would you be willing to share your email address with the Electronic Frontier
Foundation, a founding partner of the Let’s Encrypt project and the non-profit
organization that develops Certbot? We’d like to send you an email about our work
encrypting the web, EFF news, campaigns, and ways to support digital freedom.
– – – – – – – – – – – – – – – – – – – – – – – – – – – – – – – – – – – – – – – –
(Y)es/(N)o: Y
Obtaining a new certificate
Performing the following challenges:
http-01 challenge for redmine.example.com
Waiting for verification…
Cleaning up challenges
Created an SSL vhost at /etc/apache2/sites-available/redmine-le-ssl.conf
Enabled Apache socache_shmcb module
Enabled Apache ssl module
Deploying Certificate to VirtualHost /etc/apache2/sites-available/redmine-le-ssl.conf
Enabling available site: /etc/apache2/sites-available/redmine-le-ssl.conf
Next, you will be asked to choose whether or not to redirect HTTP traffic to HTTPS:
Please choose whether or not to redirect HTTP traffic to HTTPS, removing HTTP access.

- - - - - - - - - - - - - - - - - - - - - - - - - - - - - - - - - - - - - - - -

1: No redirect - Make no further changes to the webserver configuration.

2: Redirect - Make all requests redirect to secure HTTPS access. Choose this for

new sites, or if you're confident your site works on HTTPS. You can undo this

change by editing your web server's configuration.

- - - - - - - - - - - - - - - - - - - - - - - - - - - - - - - - - - - - - - - -

Select the appropriate number [1-2] then [enter] (press 'c' to cancel): 2
Type 2 and hit Enter to finish the installation.
Redirecting vhost in /etc/apache2/sites-enabled/redmine.conf to ssl vhost in /etc/apache2/sites-available/redmine-le-ssl.conf
– – – – – – – – – – – – – – – – – – – – – – – – – – – – – – – – – – – – – – – –
Congratulations! You have successfully enabled https://redmine.example.com . Check out some of the best free Let’s Encrypt alternatives.
Step 8: Access Redmine Web Interface
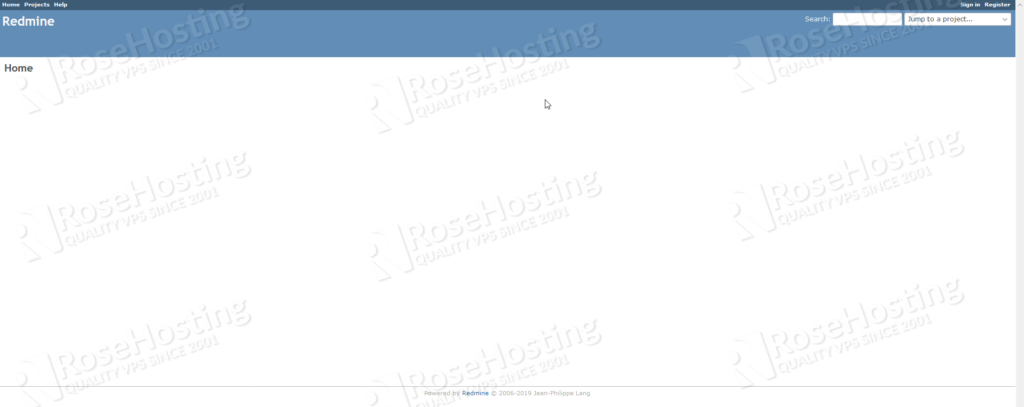
At this point, Redmine is installed and secured with Let’s Encrypt SSL. Now, open your web browser and type the URL https://redmine.example.com. You will be redirected to the following page:

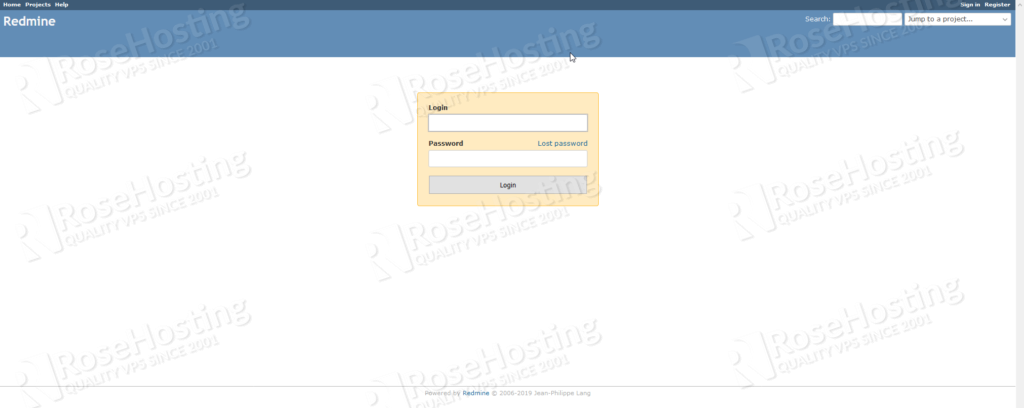
Click on the Sign in button. You should see the Redmine login page:

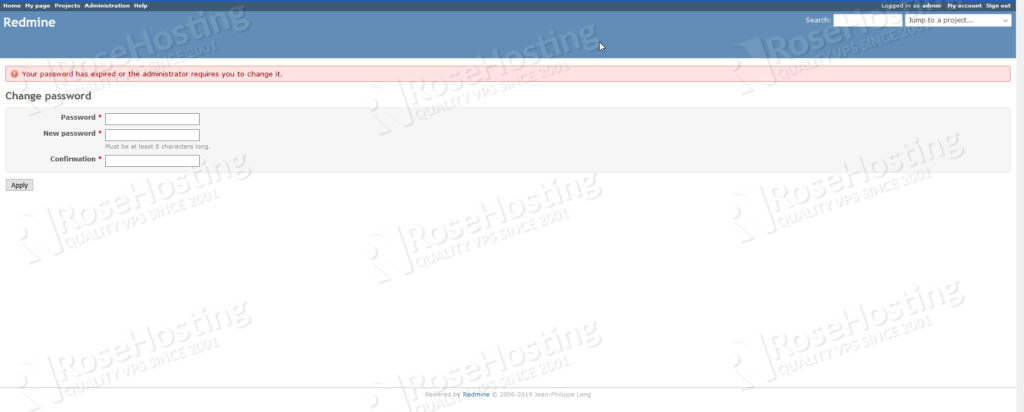
Provide the default username and the password as admin / admin, and click on the Login button. You should see the change password screen:

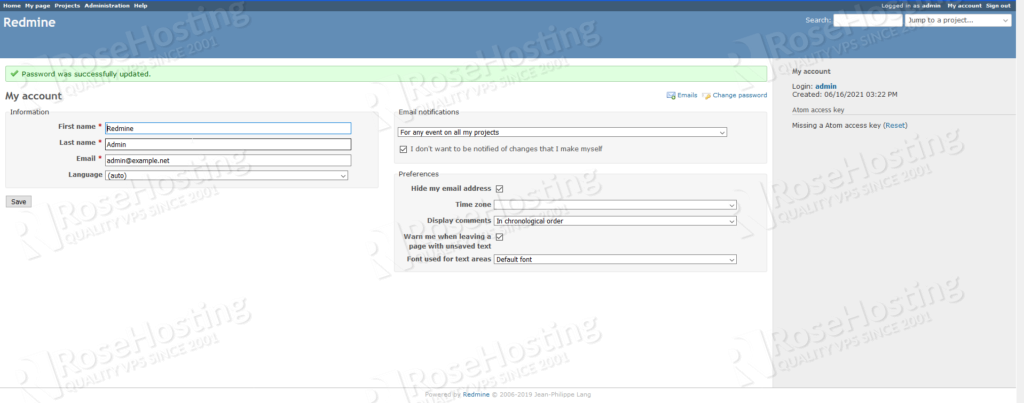
Change the default password with your secure password and click on the Apply button to save the changes. You should see the Redmine dashboard on the following screen:

Congratulations! You have successfully installed Redmine on Ubuntu 20.04 VPS.
Of course, you don’t have to install Redmine on your Ubuntu 20.04 VPS if you use one of our VPS hosting plans, in which case you can simply ask our expert Linux admins to set this up for you. They are available for support 24/7, all year long, and will take care of your request immediately.
PS. If you liked this post on how to install Redmine on Ubuntu 20.04, please share it with your friends on the social networks using the buttons below, or simply leave a reply down in the comments section. Thank you.
Great guide! Can you now please tell me how to update this install to the latest version? apt install redmine is installing V4.0.6.stable but the latest version is V5.0.0. Thanks for your time!
Did you update the repository with the “apt-get update” command?
Hi,
current version from repo:
$ apt-cache madison redmine
redmine | 4.0.6-2 | http://nova.clouds.archive.ubuntu.com/ubuntu focal/universe amd64 Packages
If you need Redmine version 5.0.0, you can try to install it from the source.