In this tutorial, we are going to show you how to install Dolibarr on Debian 11 OS.
Dolibarr is an open-source ERP platform and CRM solution used by many small business companies worldwide. Dolibarr includes different features for enterprise resource planning (ERP) and customer relationship management (CRM). In this blog post, we will install the LAMP stack for Dolibarr to be accessible in the browsers via the domain name.
Installing Dolibarr on Debian 11 with LAMP stack is a straightforward process and may take up to 20 minutes. Let’s get started!
Table of Contents
Step 1. Update the System
It is recommended to update the system packages to their latest versions available before any installation of software on the system.
sudo apt update -y && sudo apt upgrade -y
Step 2. Install Apache Web Server
To install the Apache web server execute the following command:
sudo apt install apache2 -y
Once installed, start and enable the service.
sudo systemctl enable apache2 && sudo systemctl start apache2
Check if the service is up and running:
sudo systemctl status apache2
You should receive the following output:
root@host:~# sudo systemctl status apache2
● apache2.service - The Apache HTTP Server
     Loaded: loaded (/lib/systemd/system/apache2.service; enabled; vendor preset: enabled)
     Active: active (running) since Thu 2022-11-03 15:27:44 CDT; 25min ago
       Docs: https://httpd.apache.org/docs/2.4/
   Main PID: 450 (apache2)
      Tasks: 55 (limit: 4678)
     Memory: 16.2M
        CPU: 556ms
     CGroup: /system.slice/apache2.service
             ├─450 /usr/sbin/apache2 -k start
             ├─471 /usr/sbin/apache2 -k start
             └─472 /usr/sbin/apache2 -k start

Nov 03 15:27:43 host.test.vps systemd[1]: Starting The Apache HTTP Server...
Nov 03 15:27:44 host.test.vps systemd[1]: Started The Apache HTTP Server.
Step 3. Install PHP8.1 with dependencies
Before we continue with PHP installation, we need to install some dependencies:
sudo apt install software-properties-common ca-certificates lsb-release apt-transport-https -y
Next, we need to add the PHP repository and key since they are not added in Debian 11 repository by default:
sudo sh -c 'echo "deb https://packages.sury.org/php/ $(lsb_release -sc) main" > /etc/apt/sources.list.d/php.list'

wget -qO - https://packages.sury.org/php/apt.gpg | sudo apt-key add -
Once these are added, we need to update the repository again.
sudo apt update -y
To install the PHP8.1 along with extensions, execute the following command:
sudo apt-get install php8.1 php8.1-cli php8.1-common php8.1-imap php8.1-redis php8.1-snmp php8.1-xml php8.1-zip php8.1-mbstring php8.1-curl libapache2-mod-php php8.1-intl php8.1-gd php8.1-mysql -y
Step 4. Install the MariaDB database server
To install the MariaDB database server, execute the command below.
sudo apt install mariadb-server -y
Start and enable the mariadb.service with the following commands:
sudo systemctl start mariadb && sudo systemctl enable mariadb
Check the status of the mariadb.service
sudo systemctl status mariadb
You should receive the following output:
root@host:~# sudo systemctl status mariadb
● mariadb.service - MariaDB 10.5.15 database server
     Loaded: loaded (/lib/systemd/system/mariadb.service; enabled; vendor preset: enabled)
     Active: active (running) since Thu 2022-11-03 16:06:19 CDT; 24s ago
       Docs: man:mariadbd(8)
             https://mariadb.com/kb/en/library/systemd/
   Main PID: 14068 (mariadbd)
     Status: "Taking your SQL requests now..."
      Tasks: 19 (limit: 4678)
     Memory: 72.8M
        CPU: 670ms
     CGroup: /system.slice/mariadb.service
             └─14068 /usr/sbin/mariadbd
Step 5. Create Database and Database User
Now, when the LAMP stack is installed, we are going to create an empty database for Dolibarr and the database user with permission to that database.
Login to the MySQL console and execute the following commands:
CREATE DATABASE dolibarr;
CREATE USER 'dolibarr'@'localhost' IDENTIFIED BY 'YourStrongPasswordHere';
GRANT ALL PRIVILEGES ON dolibarr.* TO 'dolibarr'@'localhost';
FLUSH PRIVILEGES;
EXIT;
Step 6. Download and Install Dolibarr
We need to download the latest version of Dolibarr from the official Github repository. First, we will install the git command with the following line:
sudo apt install git -y
Once installed, go into the default Apache HTML repository and download Dolibarr repo.
 cd /var/www/html/

wget https://github.com/Dolibarr/dolibarr/archive/refs/tags/16.0.1.zip

unzip 16.0.1.zip

mv dolibarr-16.0.1/ dolibarr/
Once downloaded and extracted, set the right permissions to the cloned dolibarr directory.
chown -R www-data:www-data /var/www/html/dolibarr/
Step 7. Create Apache Virtual Host File for Dolibarr
In order can access the Dolibarr Web interface and finish the installation, we need to create a virtual host configuration file where we can define our domain, document root, and some script parameters.
First, create the configuration file with the following command:
touch /etc/apache2/sites-available/dolibarr.conf
Open the file, and paste the following lines of code:
<VirtualHost *:80>
ServerName yourdomain.com
DocumentRoot /var/www/html/dolibarr/htdocs/

<Directory /var/www/html/dolibarr/htdocs>
AllowOverride All
</Directory>

ErrorLog ${APACHE_LOG_DIR}/error.lo
CustomLog ${APACHE_LOG_DIR}/access.log combined

</VirtualHost>
Enable the Apache2 configuration file and other modules:
sudo a2ensite dolibarr.conf

sudo a2enmod headers env rewrite
Check the syntax of the Apache2 configuration.
apachectl -t
You should receive the following output:
root@host:~# apachectl -t
Syntax OK
If you receive this output, you can safely restart the Apache service.
sudo systemctl restart apache2
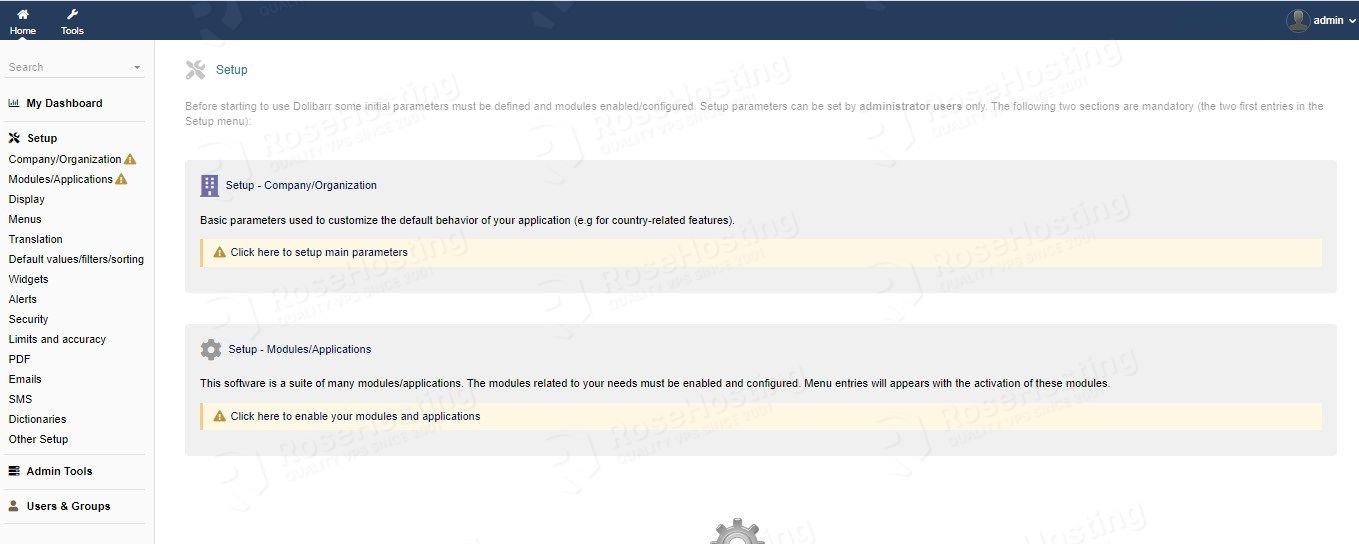
Now, you can access Dolibarr to finish the installation, where you need to set the database user created before and your admin login and string password. If everything is OK, you will see the following screen on login:
Congratulations! You successfully installed and configured Dolibarr ERP on Debian 11. If you find this setup difficult, feel free to contact our epic technical support anytime you want. We are available 24/7, and we will help you with any aspect of installing and configuring Dolibarr.
If you liked this post on how to install Dolibarr on Debian 11, please share it with your friends on social networks or simply leave a reply below. Thanks.


This is not a beginner’s guide and assumes the reader has computer science knowledge – there are many steps in this guide that require contextual knowledge of the systems being introduced. For example, “Login to the MySQL console and execute the following commands”. For you to complete that step, you need to have prior “MySQL” knowledge, would be nice to know about that from the start, so you don’t invest a lot of time following a guide you won’t be able to complete.
We also have a guide to teach you about basic MySQL database administration on a Linux VPS. You can check it out at https://www.rosehosting.com/blog/basic-mysql-database-administration-on-a-linux-vps/
This guide does not work anymore, try it yourselves @RoseHosting
Please double-check your configuration. Everything works as expected on Debian 11 OS.
Thank you, but I am skeptical of following that guide because this one doesn’t work
This tutorial was tested today on a Debian 11 server and is working as expected.