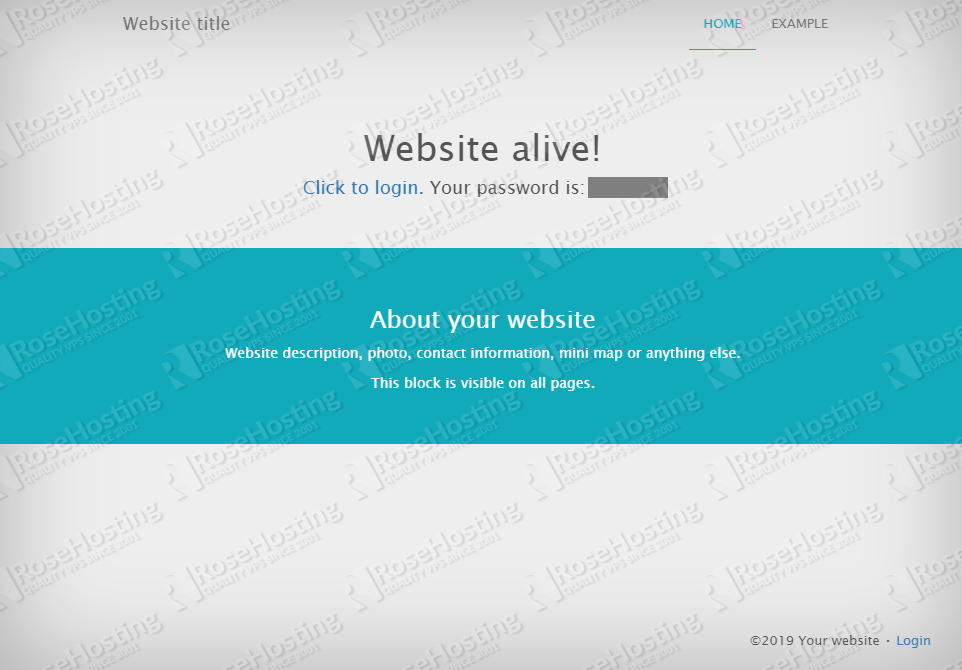
In this tutorial, we will show you how to install WonderCMS with Nginx on a CentOS 7 VPS.

Table of Contents
Prerequisites:
- For the purposes of this tutorial, we will be using a CentOS 7 VPS.
- Apache (with mod_rewrite enabled) or Nginx web server. In our setup, we will be using Nginx.
- PHP version 7.1 or greater (including the following extensions: curl, mbstring, zip)
- Full SSH root access or a user with sudo privileges is also required.
WonderCMS also doesn’t require a traditional/relational database like MySQL. The flat file technology enables WonderCMS to save all data to a text file (flat file) called database.js,which is structured in JSON format.
Step 1: Connect to Your Server
Before we begin, you will need to connect to your server via SSH as the root user or as any other user that has sudo privileges.
To connect to your server as the root user, use the following command:
ssh root@IP_ADDRESS -p PORT_NUMBER
Make sure to replace IP_ADDRESS and PORT_NUMBER with your actual server IP address and SSH port number. If you want to log in with a user other than root, just replace the word root with the account name that you want to use.
Once logged in, make sure that your server is up-to-date by running the following commands:
sudo yum update
You will also need to add the CentOS 7 EPEL repository:
sudo yum install epel-release
Step 2: Install Nginx
If you don’t have Nginx running on your server, you can install it with the following command:
sudo yum install nginx
After the installation is completed, you can start the Nginx service with:
sudo systemctl start nginx
You can also enable Nginx service to automatically start upon server reboot with:
sudo systemctl enable nginx
Verify that the Nginx service is running using:
sudo systemctl status nginx
You should then see the following output:
● nginx.service - The nginx HTTP and reverse proxy server
   Loaded: loaded (/usr/lib/systemd/system/nginx.service; disabled; vendor preset: disabled)
   Active: active (running) since Mon 2019-07-15 10:21:51 CDT; 2s ago
Step 2: Install PHP
CentOS 7 by default comes with PHP 5.4, so we will have to install a new PHP version from another repository. In this case, we will install and use PHP 7.2 from the Remi repository.
To enable the PHP 7.2 repository on your server, run the following commands:
sudo yum install https://dl.fedoraproject.org/pub/epel/epel-release-latest-7.noarch.rpm
sudo yum install yum-utils
sudo yum install http://rpms.remirepo.net/enterprise/remi-release-7.rpm
sudo yum-config-manager --disable remi-php54
sudo yum-config-manager --enable remi-php72
To install PHP 7.2 along with the other extensions required by WonderCMS, run the following command:
sudo yum install php php-fpm php-mysqlnd php-curl php-opcache php-xml php-xmlrpc php-gd php-mbstring php-zip php-json
To verify if PHP 7.2 is successfully installed, run the following command:
php -v
You should get the following output on your screen:
PHP 7.2.20 (cli) (built: Jul  2 2019 13:37:16) ( NTS )
Copyright (c) 1997-2018 The PHP Group
Zend Engine v3.2.0, Copyright (c) 1998-2018 Zend Technologies
    with Zend OPcache v7.2.20, Copyright (c) 1999-2018, by Zend Technologies
Now we need to modify our PHP-FPM configuration.
Open the following file:
nano /etc/php-fpm.d/www.conf
Then change the following lines from:
user = apache
group = apache
listen = 127.0.0.1:9000
;listen.owner = nobody
;listen.group = nobody
to
user = nginx
group = nginx
listen =  /var/run/php/php-fpm.sock
listen.owner = nginx
listen.group = nginx
Create the PHP-FPM socket directory with:
mkdir -p /var/run/php
Then, change the permission for PHP session directory:
chown -R nginx:nginx /var/lib/php/session
Finally, we will need to start and enable the PHP-FPM service.
systemctl start php-fpm

systemctl enable php-fpm
Verify that our PHP-FPM service is running:
systemctl status php-fpm
Step 3: Install WonderCMS
Let’s download the latest stable WonderCMS version. At the moment of writing this tutorial, the latest stable version is 2.7.0. To download this version on your server, you can run the following command:
wget https://github.com/robiso/wondercms/releases/download/2.7.0/WonderCMS-2.7.0.zip
Extract the files to the /var/www location on our server with this next line:
sudo unzip WonderCMS-2.7.0.zip -d /var/www
Note: If you don’t have the unzip package installed on your server, you can install it with the following command: sudo yum install unzip
Remove the downloaded file with:
rm WonderCMS-2.7.0.zip
The owner of all of these files needs to be the user of the web server running on your system. In our example, we are using the Nginx web server and Nginx runs as ‘nginx’ user on CentOS 7. To change the owner and set the correct permissions for these files, you need to run the following command:
sudo chown -R nginx:nginx /var/www/wondercms
Step 4: Configure Nginx
In this step, we will show you how to create a virtual host file for Nginx – this is so you can access your WonderCMS installation using your domain name.
Create the virtual host file by executing the following command:
nano /etc/nginx/conf.d/wondercms.conf
And enter the following information:
server {
        listen 80;
        server_name mydomain.com;
        root /var/www/wondercms;
        index index.php;
        autoindex off;

        location / {
            if (!-e $request_filename) {
                rewrite ^/(.+)$ /index.php?page=$1 last;
            }
        }

        location ~ database.js {
            return 403;
        }

        location ~ \.php(/|$) {
            try_files $uri =404;
            fastcgi_split_path_info ^(.+\.php)(/.+)$;
            fastcgi_param SCRIPT_FILENAME $document_root$fastcgi_script_name;
            include fastcgi_params;
            fastcgi_index index.php;
            fastcgi_pass unix:/var/run/php/php-fpm.sock;
        }
    }
Make sure to replace mydomain.com with your actual registered domain name.
You can then check the configuration files to make sure that there are no syntax errors. Any errors will likely crash the web server on restart.
nginx -t
Output:
nginx: the configuration file /etc/nginx/nginx.conf syntax is ok
nginx: configuration file /etc/nginx/nginx.conf test is successful
If there are no errors, you can reload the Nginx config.
systemctl reload nginx
Step 7: Accessing WonderCMS
You can now open your preferred web browser and access your WonderCMS installation at http://mydomain.com (of course, make sure to replace mydomain.com with the actual domain name you used when creating the Nginx virtual server block).
Click on the “Login” link and log in with the provided password. For security reasons, change your default password and login URL immediately. (Settings -> Security)
That’s it! WonderCMS has been successfully installed on your CentOS 7 server.

PS. If you enjoyed reading this blog post on how to install WonderCMS on CentOS 7, feel free to share it on social networks using the shortcuts below, or simply leave a comment in the comments section. Thanks.

