To install Munin on an Ubuntu VPS follow the very easy steps described below.
Make sure your Ubuntu 14.04 Linux VPS is fully up to date using:
apt-get update
apt-get upgrade
Munin requires that Apache2 is installed and running on the VPS you will use for monitoring, so if it is not installed, run the following command to install it:
apt-get install apache2
Install Munin
Install Munin and extra plugins using the following command:
apt-get install munin munin-node munin-plugins-extra
Create a backup of the original Apache configuration file for Munin, or rename it:
mv /etc/munin/apache.conf /etc/munin/apache.conf.orig
Edit the ‘/etc/munin/apache.conf’ configuration file and add the following lines:
vi /etc/munin/apache.conf
<VirtualHost *:80>
   ServerName munin.your-domain.com
   ServerAlias www.munin.your-domain.com
   ServerAdmin yours@email.com
      DocumentRoot "/var/cache/munin/www"
      DirectoryIndex index.html

   <Directory "/var/cache/munin/www">
      Options Indexes Includes FollowSymLinks MultiViews
      AllowOverride AuthConfig
      AuthUserFile /etc/munin/htpasswd
      AuthName "munin"
      AuthType Basic
      Require valid-user
      Order allow,deny
      Allow from all
   </Directory>

   CustomLog /var/log/apache2/munin.your-domain.com-access.log combined
   ErrorLog /var/log/apache2/munin.your-domain.com-error.log

   <Directory "/etc/munin/static">
      Require all granted
   </Directory>

   <Directory "/usr/lib/munin/cgi">
      Options +ExecCGI
      Require all granted
   <IfModule mod_fcgid.c>
      SetHandler fcgid-script
   </IfModule>
   <IfModule !mod_fcgid.c>
      SetHandler cgi-script
   </IfModule>
   </Directory>
</VirtualHost>
Create an output directory for the Munin graphs and data:
mkdir -p /var/cache/munin/www/
The Munin user needs to be able to write to files and directories inside the ‘/var/cache/munin/www’ directory, so it can easily be accomplished by executing the following command:
chown munin:munin -R /var/cache/munin/www
Create a backup of the original Munin configuration file:
cp /etc/munin/munin.conf /etc/munin/munin.conf.orig
Edit the Munin configuration file and add/modify the following lines:
vi /etc/munin/munin.conf
dbdir /var/lib/munin
htmldir /var/cache/munin/www
logdir /var/log/munin
rundir /var/run/munin
tmpldir /etc/munin/templates

includedir /etc/munin/conf.d

graph_strategy cron
cgiurl_graph /munin-cgi/munin-cgi-graph
html_strategy cron

[localhost]
    address 127.0.0.1
    use_node_name yes
Run the following command to set a password for the Munin administrator user:
htpasswd -c /etc/munin/htpasswd munin
This is important to keep your Munin output directory and the files in it private from search engines and unauthorized users.
Restart Munin and Apache services for the changes to take effect:
service munin-node restart
service apache2 restart
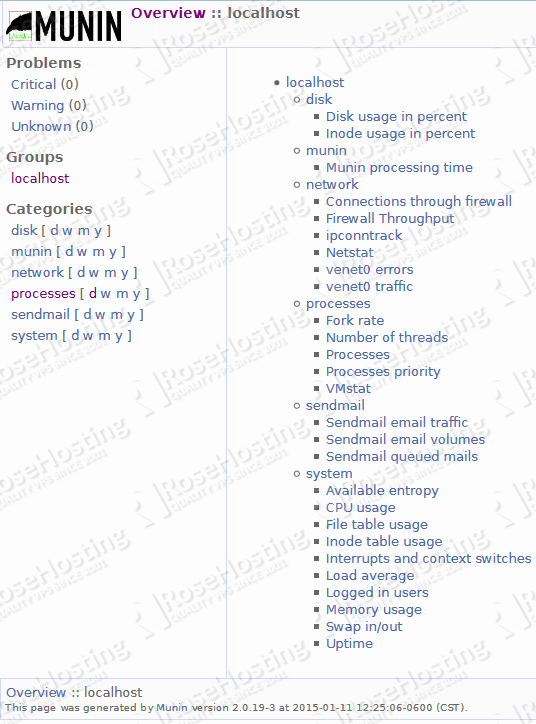
It might take a couple of minutes for Munin to generate the graphs and html files. Then, open Munin at http://munin.your-domain.com using ‘munin’ as username and the previously generated munin password as password and you will be able to access Munin graphs and data:
That is it. The Munin installation is now complete. Of course you don’t have to do any of this if you use one of our Managed Linux VPS Hosting services, in which case you can simply ask our expert Linux admins to install Munin for you. They are available 24×7 and will take care of your request immediately.
PS. If you liked this post please share it with your friends on the social networks using the buttons on the left or simply leave a reply below. Thanks.

Thanks for the configuration! Everything works except the scripts.
What exactly is not working? What error message do you get?
The cgi-scripts i mean