In this tutorial, we will explain how to install Elgg on a Debian 9 VPS as well as all of the necessary components, such as the Apache web server, the MariaDB database server, and PHP.

Elgg comes with a lot of handy features out-of-the-box, such as:
- The Core API
- Composer package manager
- Flexible system of hooks and events
- Extendable system of views
- Cacheable system of static assets
- Notifications service
- Internationalization and localization
and much more…
Table of Contents
Prerequisites:
- A Debian 9 VPS
- MariaDB/MySQL database server version 5 or newer
- PHP version 5.5 or newer with the GD and mbstring extensions enabled
- Apache web server with the rewrite module enabled
Step 1: Log in and Update the System
To start, log in to your Debian 9 VPS as the root user (or an account with sudo privileges) via SSH:
ssh root@IP_Address -p Port_number
Make sure to replace IP_Address and Port_Number with your server’s respective IP address and SSH port number.
Once you are logged in, run the following commands to update all installed packages on your server to the latest available version:
apt update && apt upgrade
Step 2: Install the Apache Web Server
Elgg needs a web server in order to serve its content. For this purpose we will install Apache, a popular, user-friendly web server. You can check if Apache is already installed and running on your server using the following command:
dpkg -l apache2
If you already have Apache installed on your Debian 9 server, then you can skip ahead to Step 3.
To install the Apache web server, issue the following command:
apt install apache2
Once the installation is completed, start the Apache server and enable it to automatically start at server boot.
systemctl start apache2
systemctl enable apache2
Enable the rewrite module in Apache:
a2enmod rewrite
Then restart the web server for the changes to take effect.
systemctl restart apache2
Step 3: Install PHP
Elgg is a PHP-based application, so the next step would be to install PHP on the server. For this tutorial, we’ll be using PHP version 7.0.
apt install php7.0 php7.0-gd php7.0-mbstring php7.0-xml
Step 4: Install MariaDB
Elgg needs a database to store its information. In order for Elgg to modify entries in a database, we’ll need a database server. That’s why we will install and use the MariaDB database server, an open-source variant of the MySQL server. To install MariaDB on your Debian 9 VPS, run the following command and enter the character ‘Y’ when prompted to continue.
apt install mariadb-server
During the installation, you will be prompted to set a password for the MariaDB root user. Make sure to enter a strong password.
To further improve the security of the MariaDB installation, as well as set up a password for our MariaDB root user, we need to run the mysql_secure_installation post-installation script and follow the on-screen instructions. Run the command below to configure your system:
mysql_secure_installation
If the program asks you to enter your current MariaDB root password, just press your [Enter] key once, as no password is set by default when installing MariaDB.
A few more questions will be displayed on-screen – it is recommended that you answer yes to all of them by entering the character ‘Y’, then pressing [Enter]:
Remove anonymous users? (Press y|Y for Yes, any other key for No) : Y
Disallow root login remotely? (Press y|Y for Yes, any other key for No) : Y
Remove test database and access to it? (Press y|Y for Yes, any other key for No) : Y
Reload privilege tables now? (Press y|Y for Yes, any other key for No) : Y
Enable MariaDB to start on boot with the following command:
systemctl enable mariadb
Step 5: Create a Database using MariaDB
Next, we will create a new MariaDB user and database for Elgg. To do this, log in to the MariaDB CLI as the root user by typing the following command:
mariadb -u root -p
Then enter your MariaDB root password that you set while running the secure_installation script. Once you are logged in, create a new database and user by running the following commands:
MariaDB [(none)]> CREATE DATABASE elgg;
MariaDB [(none)]> CREATE USER elgg_user@localhost IDENTIFIED BY 'PASSWORD';
MariaDB [(none)]> GRANT ALL PRIVILEGES ON elgg.* TO elgg_user@localhost;
MariaDB [(none)]> FLUSH PRIVILEGES;
Don’t forget to replace ‘PASSWORD‘ with an actual strong password.
Step 6: Download Elgg
All necessary components for running Elgg are now installed and set up on the server. The next step is to download the application. Go to Elgg’s official website and download the latest stable release. At the moment of writing this article it is version 3.0.3. For convenience we have set up the command with the most current download link (at the time of publishing) for you.
wget https://elgg.org/about/getelgg?forward=elgg-3.0.3.zip
Once downloaded, unpack the downloaded ZIP archive to the document root directory of your server:
unzip elgg-3.0.3.zip -d /var/www/html/
The contents of the application will be unpacked in a new ‘elgg-3.0.3’ directory. We will rename it to ‘elgg’ and remove the downloaded ZIP archive
cd /var/www/html && mv elgg-3.0.3 elgg && rm -f elgg-3.0.3.zip
Elgg needs a separate directory to store the uploaded files such as profile icons and photos. For security reasons, you should create this directory outside the document root directory of our Elgg installation. Run the following command to create the directory:
mkdir -p /var/www/data
Then change the owner of the ‘elgg’ and ‘data’ directories:
chown -R www-data:www-data /var/www/html/elgg
chown -R www-data:www-data /var/www/data
Step 7: Create an Apache Virtual Host
Next, we will create an Apache virtual host so that you can access Elgg with your domain name instead of using your server’s IP address. We will use ‘domain.com‘ as an example. Replace all occurrences of this domain name with your actual domain name.
Create the virtual host file by executing the following command:
nano /etc/apache2/sites-available/elgg.conf
And enter the following content:
nano /etc/apache2/sites-available/elgg.conf
And enter the following information:
<VirtualHost *:80>
     DocumentRoot /var/www/html/elgg/
     ServerName domain.com

    <Directory /var/www/html/elgg/>
        Options FollowSymlinks
        AllowOverride All
        Require all granted
     </Directory>

     ErrorLog ${APACHE_LOG_DIR}/elgg_error.log
     CustomLog ${APACHE_LOG_DIR}/elgg_access.log combined

</VirtualHost>
To enable the newly created Apache virtual host, run the following command:
a2ensite elgg.conf
Then reload the Apache web server to activate the new configuration:
systemctl reload apache2
Step 8: Install Elgg
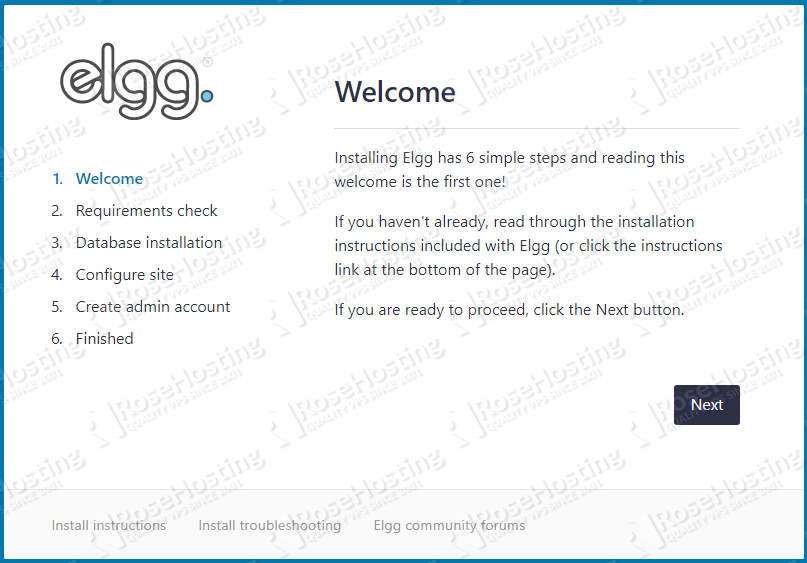
If you closely followed all the steps above, you will be able to access the Elgg installation at http://domain.com and continue the installation using the Elgg installation wizard. The installation wizard will check if your server meets all of the requirements for installing Elgg. If everything is OK, you will be able to continue with the installation. You will have to enter the information of the MariaDB user and database, configure your site name, and create your administrative user account.
With this step, the installation of Elgg on your Debian 9 VPS is successfully completed, and you can start creating your own social network site.

PS. If you enjoyed reading this blog post on how to install Elgg on Debian 9, feel free to share it on social networks by using the shortcuts below, or simply leave a comment in the comments section. Thank you.

