
Mattermost is a free, open-source, and self-hosted online chat service written in Golang and React. It an alternative to Slack and provides a chat service with file sharing, search, and integrations. It is designed for organizations and companies and allows teams to communicate and collaborate securely from everywhere. It offers several features including, one-to-one messaging, unlimited search history, share and view image files, custom emojis, video calls, two-factor authorization, and notifications.
In this tutorial, we will show you how to install Mattermost Chat on Ubuntu 20.04.
Table of Contents
Prerequisites
- An Ubuntu 20.04 VPS (we’ll be using our SSD 2 VPS plan)
- Access to the root user account (or access to an admin account with root privileges)
Step 1: Log in to the Server & Update the Server OS Packages
First, log in to your Ubuntu 20.04 server via SSH as the root user:
ssh root@IP_Address -p Port_number
You will need to replace ‘IP_Address‘ and ‘Port_number‘ with your server’s respective IP address and SSH port number. Additionally, replace ‘root’ with the username of the admin account if necessary.
Before starting, you have to make sure that all Ubuntu OS packages installed on the server are up to date. You can do this by running the following commands:
apt-get update -y
apt-get upgrade -y
Step 2: Install and Configure MariaDB
Mattermost uses MariaDB/MySQL as a database backend. So you will need to install the MariaDB server on your server. You can install it by just running the following command:
apt-get install mariadb-server
After installing the MariaDB server, log in to the MariaDB shell with the following command:
mysql
Once login, create a database and user for Mattermost:
MariaDB [(none)]> CREATE DATABASE mattermostdb;
MariaDB [(none)]> CREATE USER 'mattermost'@'%' IDENTIFIED BY 'securepassword';
Next, grant all the privileges to the Mattermost database with the following command:
MariaDB [(none)]> GRANT ALL PRIVILEGES ON mattermostdb.* TO 'mattermost'@'%';
Next, flush the privileges and exit from the MariaDB shell with the following command:
MariaDB [(none)]> FLUSH PRIVILEGES;
MariaDB [(none)]> EXIT;
Now, the MariaDB database is installed and configured for Mattermost.
Step 3 : Install and Setup Mattermost
First, create a separate user and group to run Mattermost.
useradd --system --user-group mattermost
Next, download the latest version of Mattermost with the following command:
wget https://releases.mattermost.com/5.28.1/mattermost-5.28.1-linux-amd64.tar.gz
Once the download is completed, extract the downloaded file with the following command:
tar -xvzf mattermost-5.28.1-linux-amd64.tar.gz
Next, move the extracted directory to the /opt with the following command:
mv mattermost /opt/
mkdir /opt/mattermost/data
Next, change the ownership and permissions of the Mattermost:
chown -R mattermost:mattermost /opt/mattermost
chmod -R g+w /opt/mattermost
Next, edit the Mattermost configuration file and define your site URL and database settings:
nano /opt/mattermost/config/config.json
Change the following lines with your site domain name and database settings:
"SiteURL": "http://mattermost.example.com", "DriverName": "mysql", "DataSource": "mattermost:securepassword@tcp(localhost:3306)/mattermostdb?charset=utf8mb4,utf8\u0026readTimeout=30s\u0026writeTimeout=30s",
Save and close the file when you are done.
Step 4: Create a Systemd Service File for Mattermost
Next, create a systemd service file to start and stop the Mattermost service.
nano /lib/systemd/system/mattermost.service
Add the following lines:
[Unit]
Description=Mattermost
After=network.target
After=mysql.service
Requires=mysql.service

[Service]
Type=notify
User=mattermost
Group=mattermost
ExecStart=/opt/mattermost/bin/mattermost
TimeoutStartSec=3600
Restart=always
RestartSec=10
WorkingDirectory=/opt/mattermost
LimitNOFILE=49152

[Install]
WantedBy=mariadb.service
Save and close the file then reload the systemd daemon to apply the configuration changes:
systemctl daemon-reload
Next, start the Mattermost service and enable it to start at system reboot:
systemctl start mattermost
systemctl enable mattermost
At this point, Mattermost is started and listening on port 8065. You can verify it with the following command:
ss -plntu | grep 8065
Output:
tcp LISTEN 0 4096 *:8065 *:* users:(("mattermost",pid=3474,fd=17))
Step 5: Configure Nginx as a Reverse Proxy
Next, you will need to configure Nginx as a reverse proxy for Mattermost. First, install the Nginx server with the following command:
apt-get install nginx -y
Once installed, create an Nginx virtual host configuration file:
nano /etc/nginx/sites-available/mattermost.conf
Add the following lines:
upstream mattermost {
   server localhost:8065;
   keepalive 32;
}

proxy_cache_path /var/cache/nginx levels=1:2 keys_zone=mattermost_cache:10m max_size=3g inactive=120m use_temp_path=off;

server {
   listen 80;
   server_name mattermost.example.com;

   location ~ /api/v[0-9]+/(users/)?websocket$ {
       proxy_set_header Upgrade $http_upgrade;
       proxy_set_header Connection "upgrade";
       client_max_body_size 50M;
       proxy_set_header Host $http_host;
       proxy_set_header X-Real-IP $remote_addr;
       proxy_set_header X-Forwarded-For $proxy_add_x_forwarded_for;
       proxy_set_header X-Forwarded-Proto $scheme;
       proxy_set_header X-Frame-Options SAMEORIGIN;
       proxy_buffers 256 16k;
       proxy_buffer_size 16k;
       client_body_timeout 60;
       send_timeout 300;
       lingering_timeout 5;
       proxy_connect_timeout 90;
       proxy_send_timeout 300;
       proxy_read_timeout 90s;
       proxy_pass http://mattermost;
   }

   location / {
       client_max_body_size 50M;
       proxy_set_header Connection "";
       proxy_set_header Host $http_host;
       proxy_set_header X-Real-IP $remote_addr;
       proxy_set_header X-Forwarded-For $proxy_add_x_forwarded_for;
       proxy_set_header X-Forwarded-Proto $scheme;
       proxy_set_header X-Frame-Options SAMEORIGIN;
       proxy_buffers 256 16k;
       proxy_buffer_size 16k;
       proxy_read_timeout 600s;
       proxy_cache mattermost_cache;
       proxy_cache_revalidate on;
       proxy_cache_min_uses 2;
       proxy_cache_use_stale timeout;
       proxy_cache_lock on;
       proxy_http_version 1.1;
       proxy_pass http://mattermost;
   }
}
Save and close the file then activate the Nginx virtual host file:
ln -s /etc/nginx/sites-available/mattermost.conf /etc/nginx/sites-enabled/mattermost.conf
Finally, restart the Nginx service to apply the changes:
systemctl restart nginx
Step 6: Access Mattermost
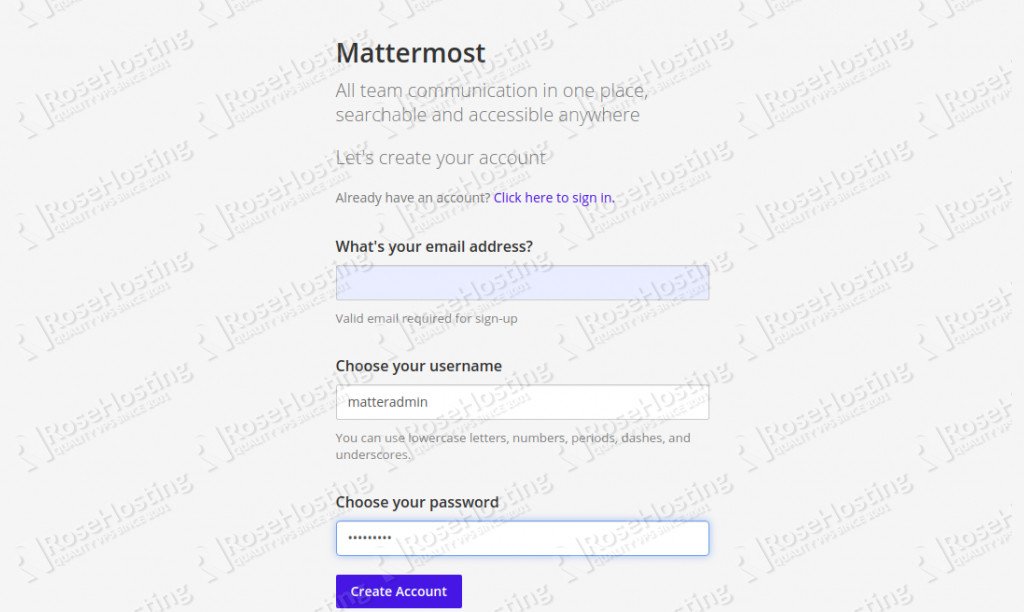
Now, open your web browser and access the Mattermost using the URL http://mattermost.example.com. You will be redirected to the following page:

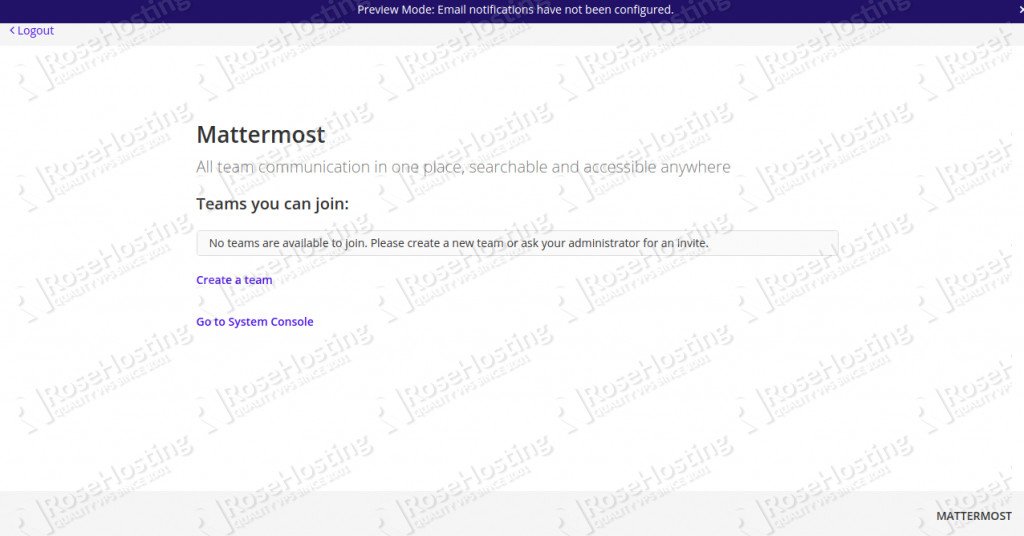
Provide your email address, username, password and click on the Create Account button. You should see the following page:

Click on the Create a team button. You should see the following page:

Provide your team name and click on the Next button. You should see the following page:

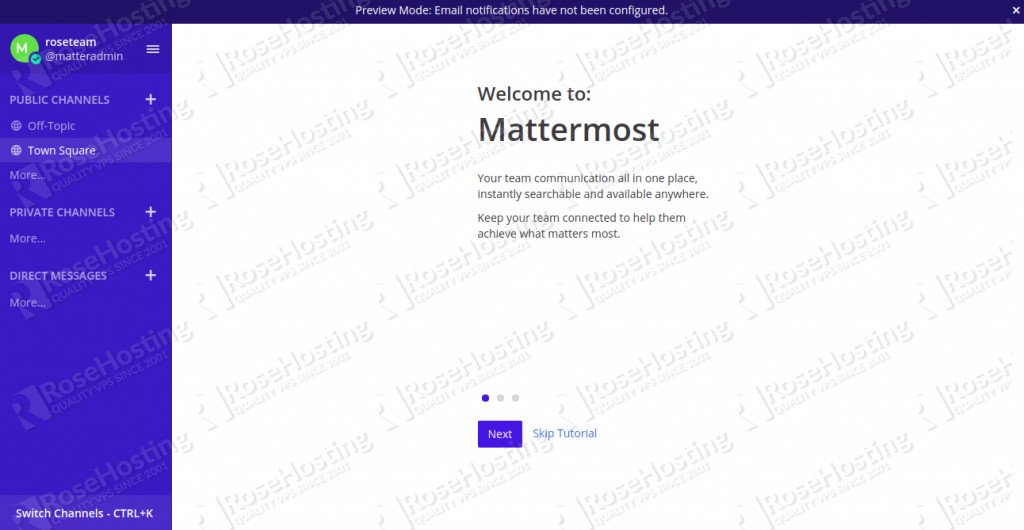
Provide your team URL and click on the Finish button. You should see the Mattermost welcome page:

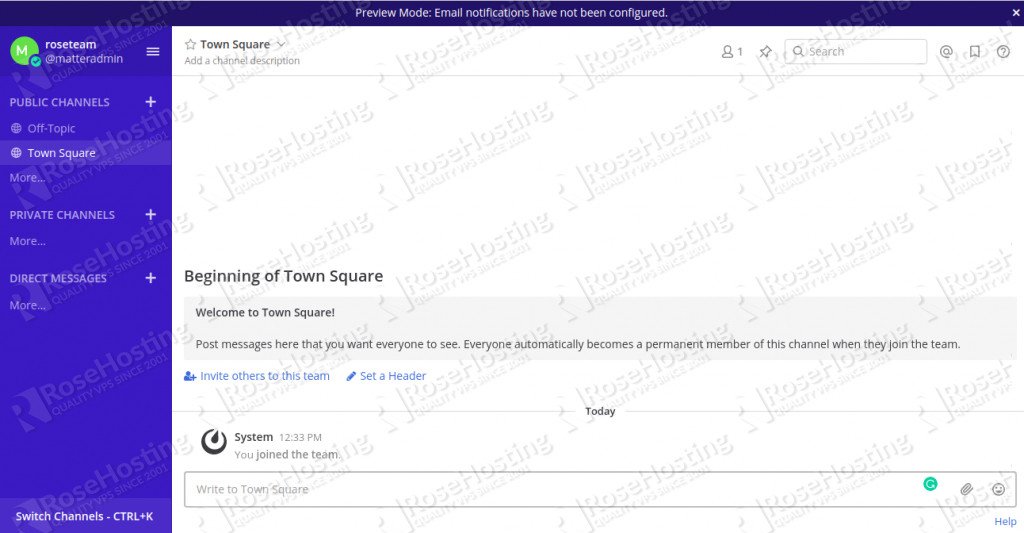
Click on the Skip Tutorial button. You should see the Mattermost dashboard in the following page:

That’s it. Mattermost has been successfully installed in your Ubuntu 20.04 server.

Of course, you don’t have to do any of this if you use one of our Linux VPS Hosting services, in which case you can simply ask our expert Linux admins to setup this for you. They are available 24×7 and will take care of your request immediately.
PS. If you liked this post please share it with your friends on the social networks using the buttons on the left or simply leave a reply below. Thanks.