WooCommerce is a free, open-source, and most popular eCommerce plugin to sell your product online. It is customizable and designed for small to large-sized online businesses. It makes it easier for creating and managing your online store with several features including, shipping integration, tax and inventory management, secure payment, etc.
In this guide, we will show you how to install and deploy WooCommerce on the RoseHosting Cloud.
Table of Contents
Create WordPress Environment
First, login to the RoseHosting Cloud at https://app.rosehosting.cloud as shown below.
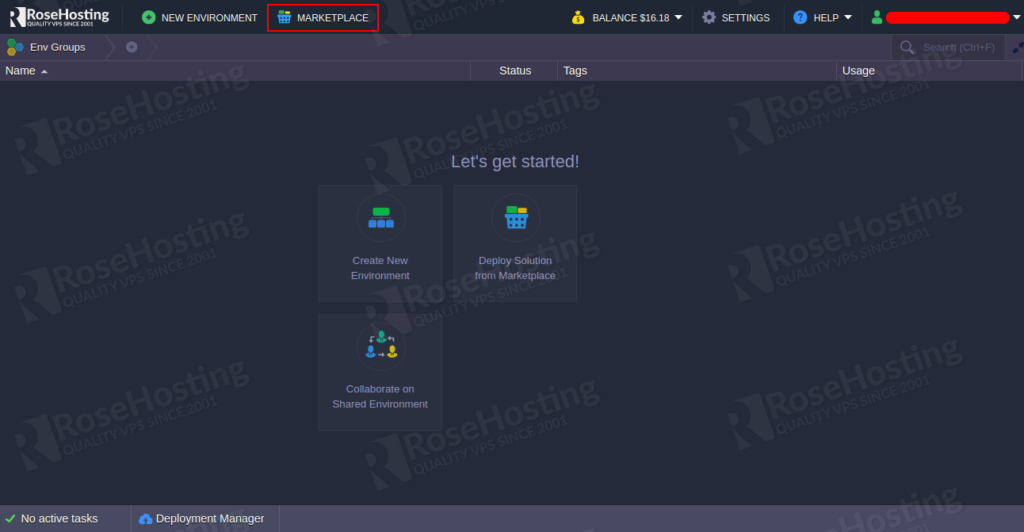
Click on the MARKETPLACE button. You should see the following screen:
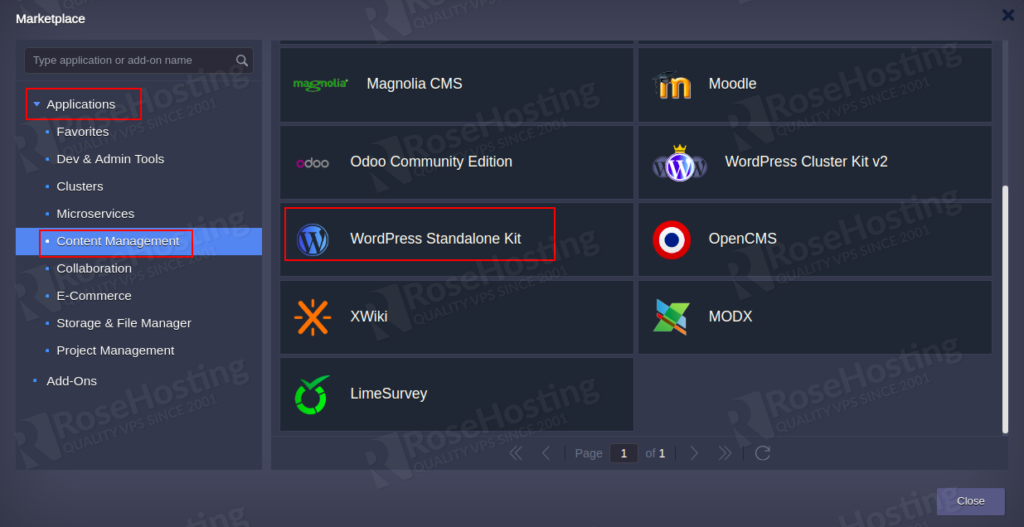
Click on the Applications => Content Management => WordPress Standalone Kit and click on the Install button. You should see the following screen:
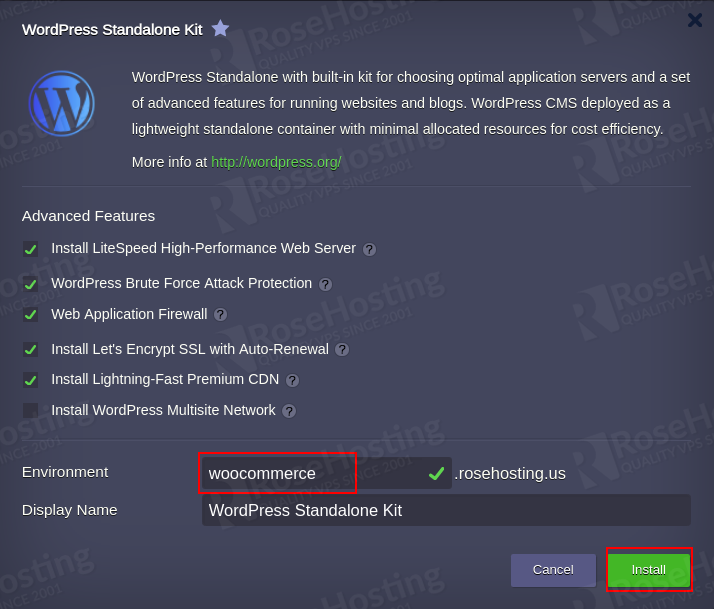
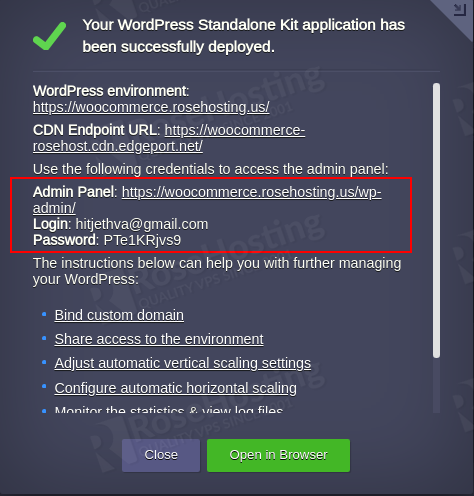
Provide all required details and click on the Install button to install the WordPress on the RoseHosting Cloud. Once the WordPress environment has been created, you should see the following screen with all credentials.
Install and Configure WooCommerce
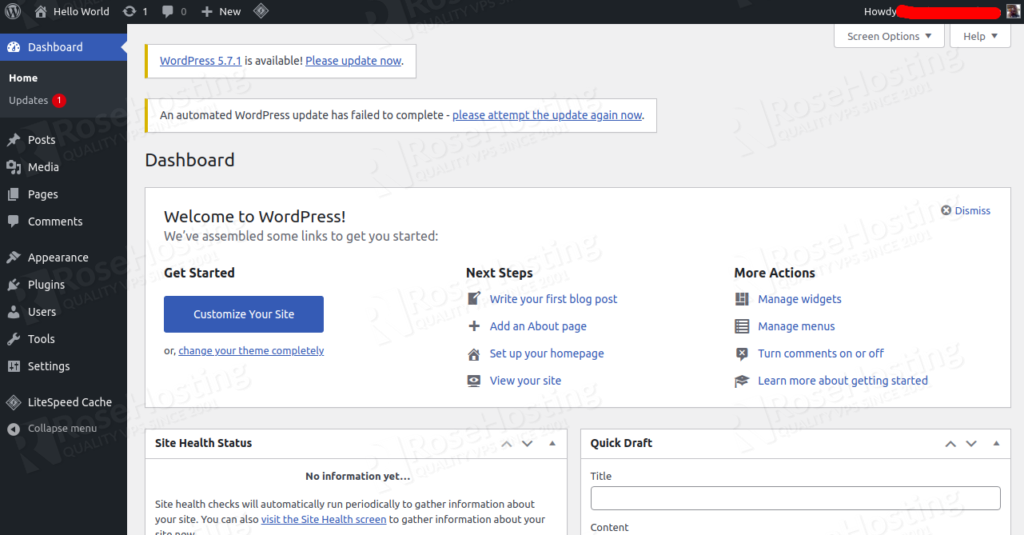
WooCommerce is a WordPress plugin that can be used to create your own online store. First, log in to the WordPress admin dashboard as shown below:
Click on the Plugins => Add New and search for WooCommerce. You should see the following screen:
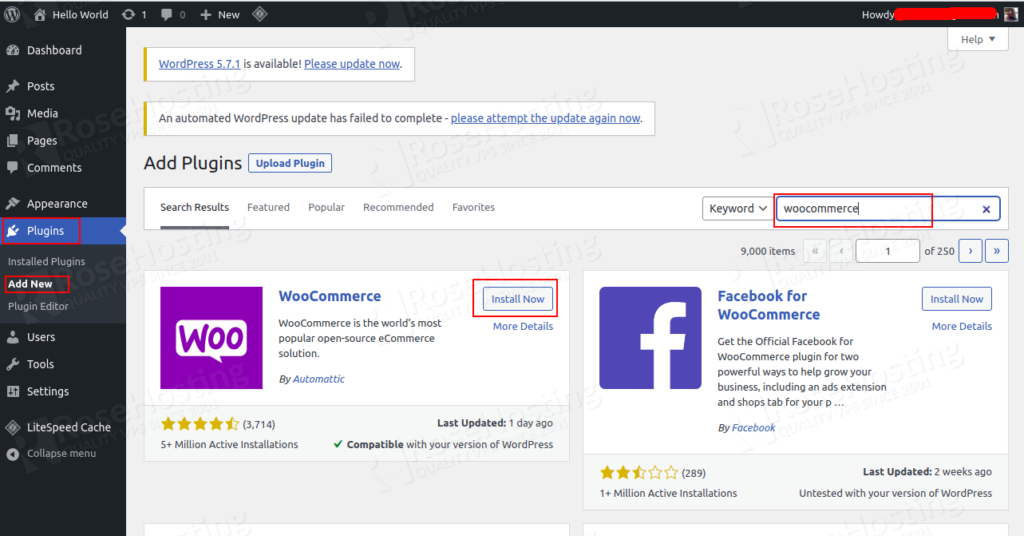
Click on the Install button to install the WooCommerce, then click on the Activate button. You will be redirected to the online store configuration screen:
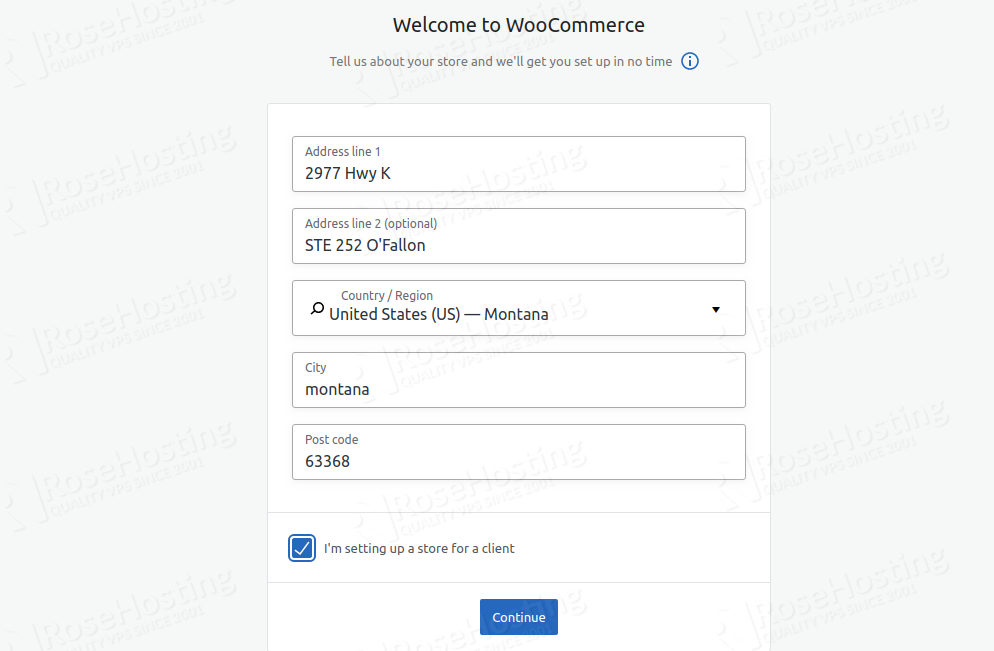
Provide your store location and click on the Continue button. You should see the following screen:
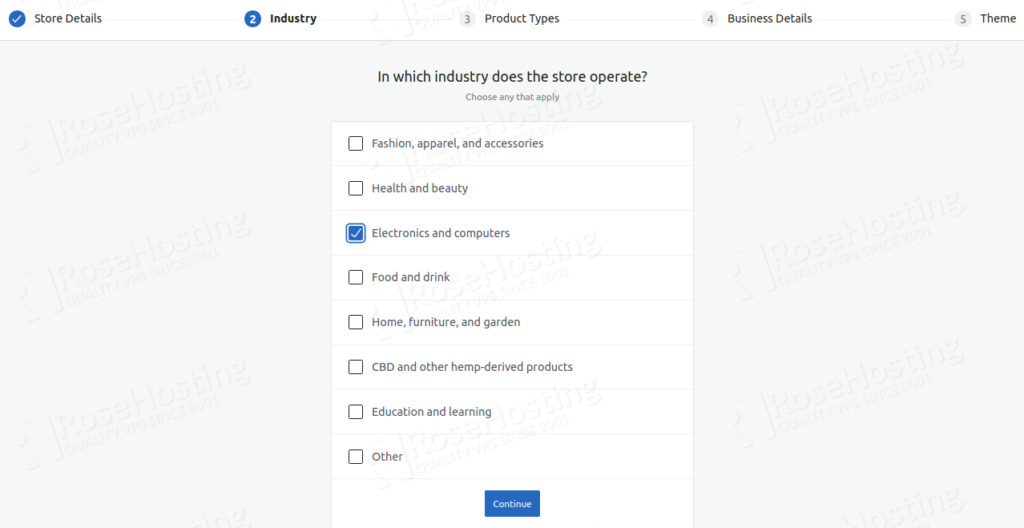
Select your industry and click on the Continue button. You should see the following screen:
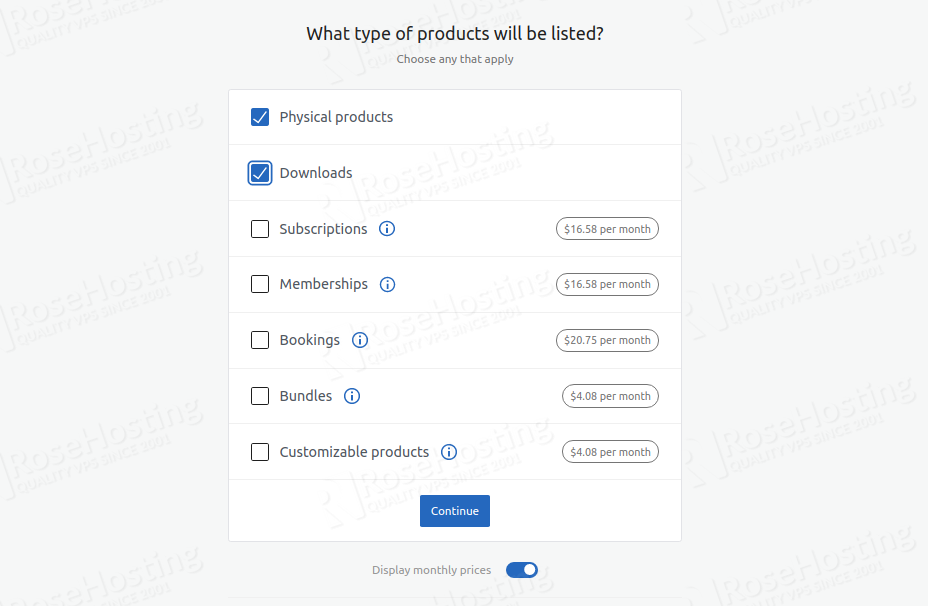
Provide your product details and click on the Continue button. You should see the following screen:
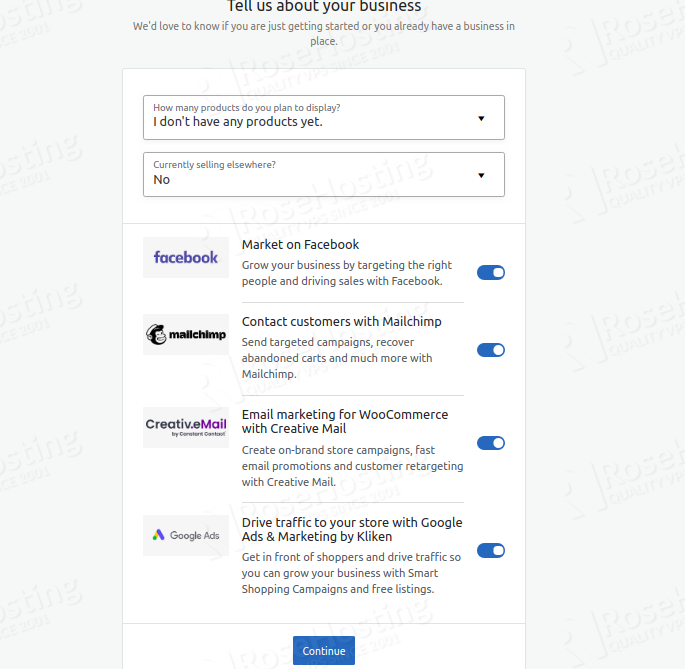
Provide your business details and click on the Continue button. You should see the following screen:
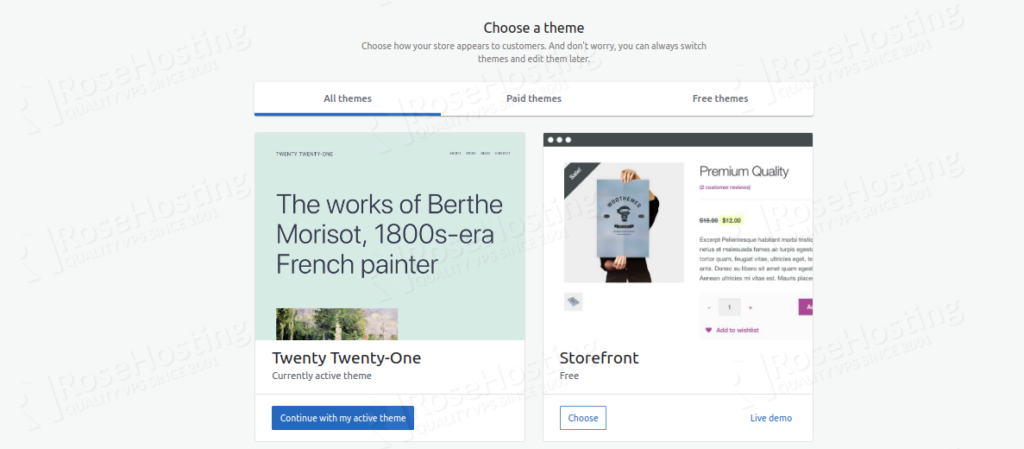
Select a theme for your store. You should see the following screen:
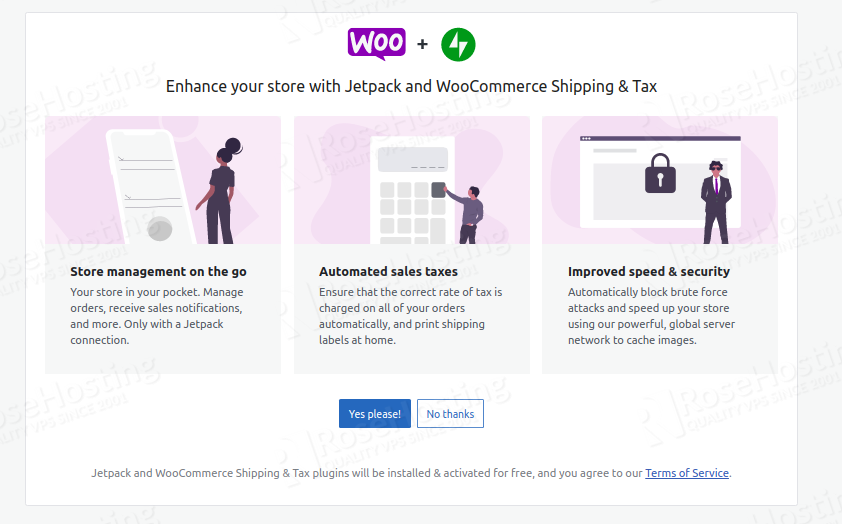
Click on the “Yes please!“. You should see the following screen:
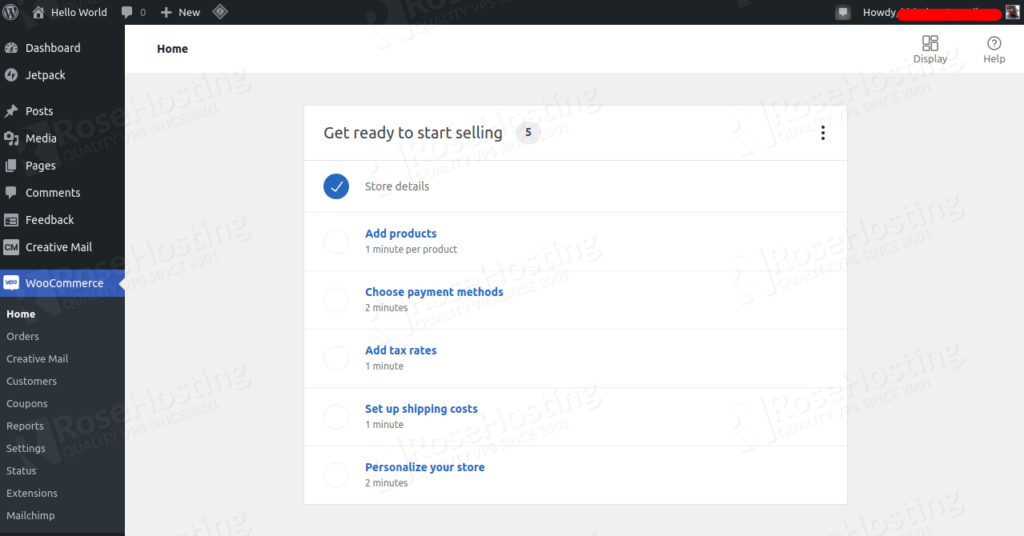
From here, you can add your own product, import your existing product from a CSV file, customize your store, set up your payment method, etc.
Generate Demo Product
If you are a new user and don’t know much about WooCommerce, then you can install the WooCommerce Product Generator plugin to add the demo product to your WooCommerce site.
On the WordPress dashboard, click on the Plugins and search for WooCommerce Product Generator. You should see the following screen:
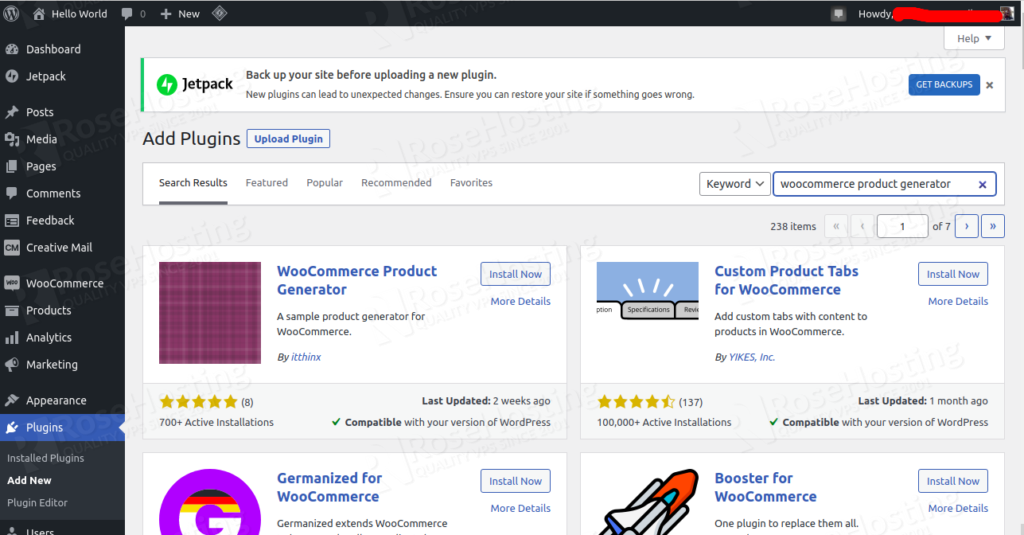
Click on the Install button to install the plugin then activate it.
Next, click on the WooCommerce => Product Generator to initiate product generation. You should see the following screen:
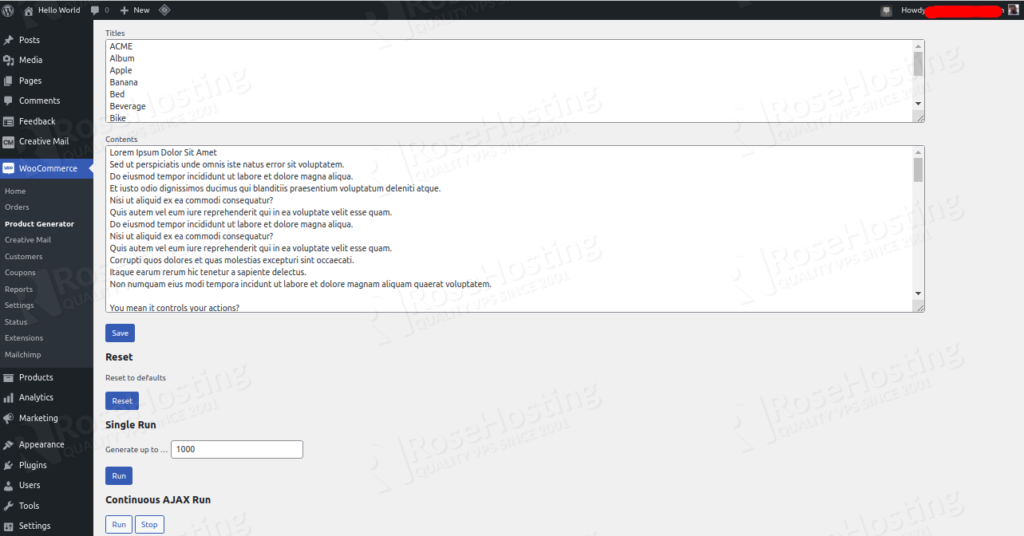
In the above screen, you should see all demo products with contents. Now, scroll down and click on the Run in Continuous AJAX Run section.
The product generation process will take some time so be patient.
Once the process has been completed, access your WordPress site front page. You should see all demo product in the following screen:
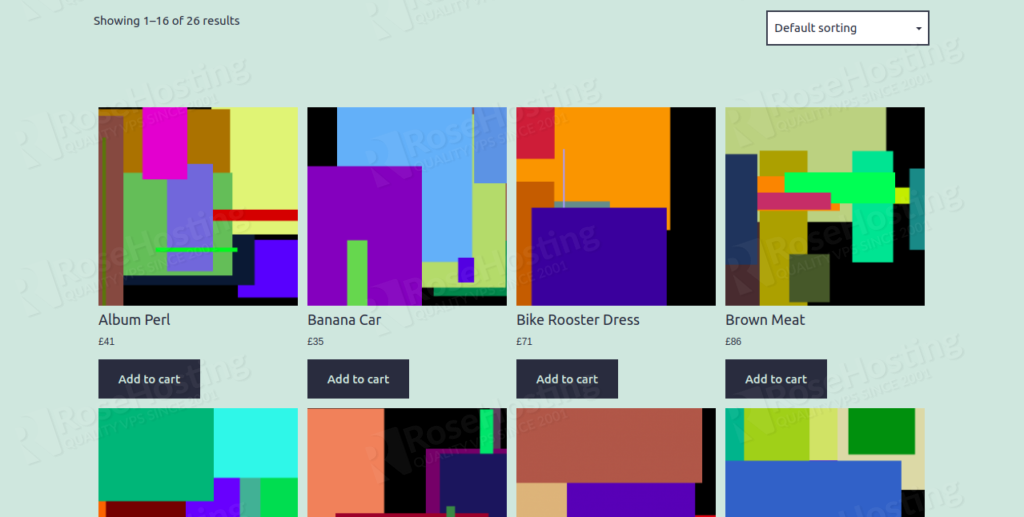
Congratulations! you have successfully installed and deployed your WooCommerce shop the RoseHosting cloud platform.
Of course, you don’t have to do any of this if you use our Managed Cloud Hosting, in which case you can simply ask our expert Linux admins to setup this for you. They are available 24×7 and will take care of your request immediately. Check out our WooCommerce dedicated servers.
PS. If you liked this post please share it with your friends on social networks or simply leave a reply below. Thanks.