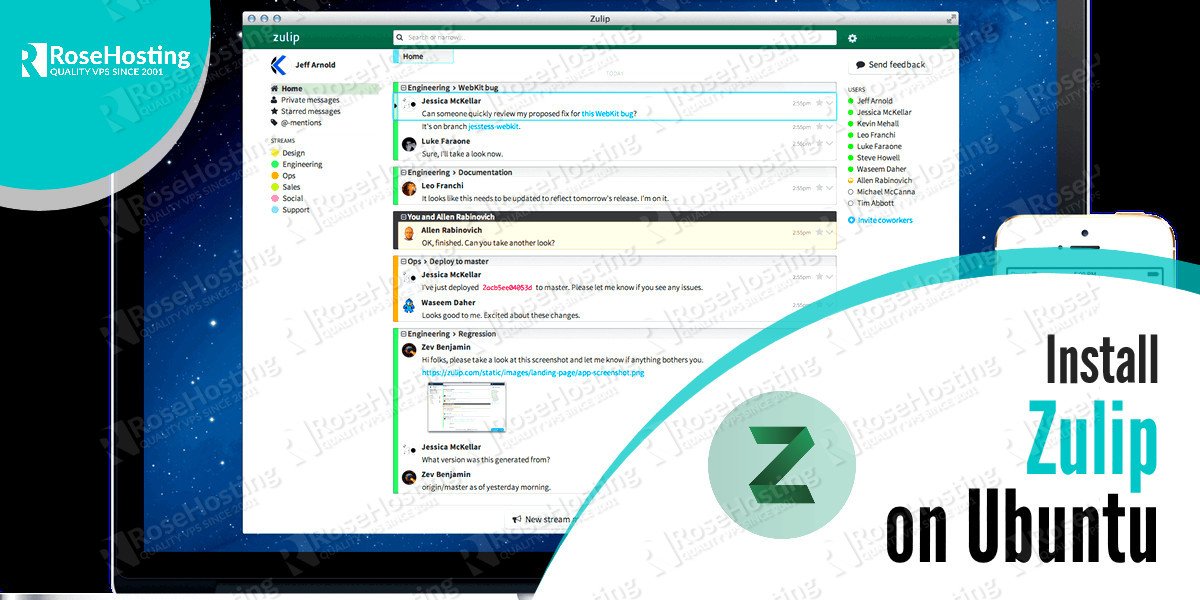
We will show you how to install Zulip on an Ubuntu 14.04 VPS. Zulip is open source self-hosted group chat and collaborative application. Zulip is written in Python on top of the Django framework and supports both group and private messaging. This guide should work on other Linux VPS systems as well but was tested and written for an Ubuntu 14.04 VPS.
Table of Contents
1. Log in to your VPS via SSH with your sudo user
ssh user@vps_IP
2. Update the system and install necessary packages
[user]$ sudo apt-get update && sudo apt-get -y upgrade
[user]$ sudo apt-get install python-dev python-pip openssl nano wget
3. SSL certificate
To generate a self signed SSL certificate run the following commands:
[user]$ sudo openssl genrsa -des3 -passout pass:x -out zulip.pass.key 4096
[user]$ sudo openssl rsa -passin pass:x -in zulip.pass.key -out /etc/ssl/private/zulip.key
[user]$ sudo rm -f zulip.pass.key
[user]$ sudo openssl req -new -key /etc/ssl/private/zulip.key -out zulip.csr
[user]$ sudo openssl x509 -req -days 365 -in zulip.csr -signkey /etc/ssl/private/zulip.key -out /etc/ssl/certs/zulip.combined-chain.crt
If you don’t want to get warnings associated with self-signed SSL Certificates, you can purchase a trusted SSL certificate.
4. Install Zulip on Ubuntu
Download the latest Zulip archive and extract it to the /root/zulip directory:
[user]$ sudo wget https://www.zulip.com/dist/releases/zulip-server-latest.tar.gz
[user]$ sudo mkdir -p /root/zulip
[user]$ sudo tar -xvf zulip-server-latest.tar.gz --directory=/root/zulip --strip-components=1
To start the installation script run the following command:
[user]$ sudo /root/zulip/scripts/setup/install
The installation will take some time, and it does not require your interaction once started. If the installation fails for some reason, you can rerun it after fixing the issue that caused the failure.
5. Configure Zulip
After the installation is complete edit the /etc/zulip/settings.py file and fill all mandatory values.
The following are the values that you need to fill out:
– EXTERNAL_HOST (The user-accessible Zulip hostname for this installation)
– ZULIP_ADMINISTRATOR (The email address for the person or team who maintain the Zulip)
– ADMIN_DOMAIN (The domain for your organization)
– DEFAULT_FROM_EMAIL (The email From address to be used for automatically generated emails)
– NOREPLY_EMAIL_ADDRESS (The noreply address to be used as Reply-To for certain generated emails)
Initialize the postgresql database using initialize-database command
[user]$ sudo su zulip -c /home/zulip/deployments/current/scripts/setup/initialize-database
The script will generate an error if you did not fill in all the mandatory settings.
Once the installation process and database initialization are completed, you should visit your Zulip domain/URL and register a new account.
That’s it. You have successfully installed Zulip on your Ubuntu 14.04 VPS. For more information about how to manage your Zulip installation, please refer to the official Zulip documentation.
Please note that Zulip requires at least 10GB of free disk and 2GB of RAM memory, though 4 GB of RAM memory is recommended, .
Of course you don’t have to Install Zulip on Ubuntu if you use one of our Ultra-Fast SSD VPS Hosting services, in which case you can simply ask our expert Linux admins to install Zulip on Ubuntu for you. They are available 24×7 and will take care of your request immediately.
PS. If you liked this post, on how to Install Zulip on Ubuntu, please share it with your friends on the social networks using the buttons on the left or simply leave a reply below. Thanks.
